Burlap Tissue Paper Printed Photo Art
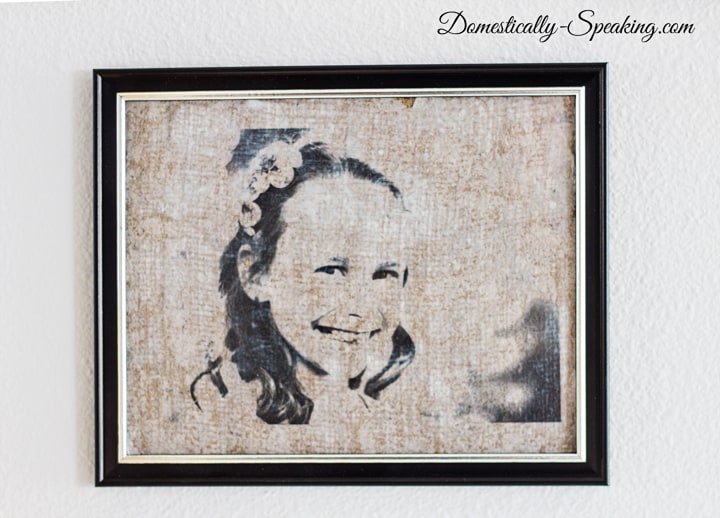
Happy Sunday Friends! I’m so excited to be participating in Kristen’s awesome month-long Decorating with Pictures series on her gorgeous blog, Capturing Joy. Today I’ve got a fun… kinda rustic… DIY Photo Project to share with you guys. This burlap tissue paper printed photo art is such a fun craft and it makes for unique photo art.
When I was originally brainstorming projects I wanted to print their photos directly on the burlap. If you’ve been around my blog you know I adore burlap and sell Burlap Beauties (burlap signs ~ see my menu bar). Well… the black and white photos I tried to print ended up looking more like Halloween art then cool photos I’d want to display… so plan B. A while back I created some printed shell art by printing on tissue paper so I thought I’d try that here.
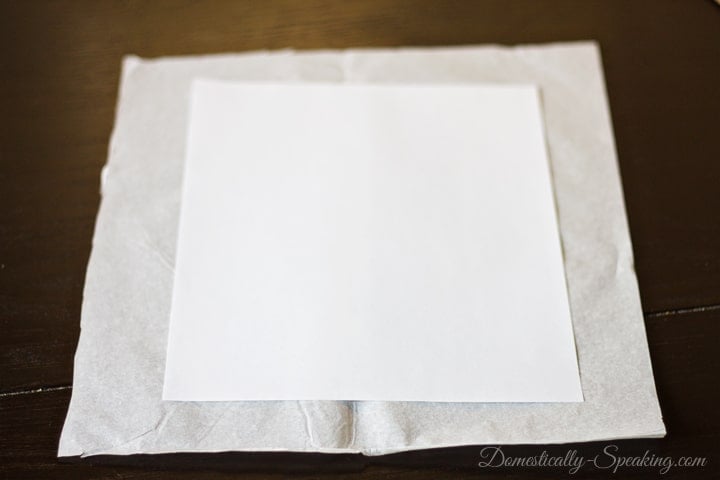
You start by using 1 sheet of tissue paper and trim it so it’s about 2” wider than the copy paper on all sides.
Fold the tissue paper onto the back, taping it down with clear tape to hold it in place.
Then run in through your printer. My printer took it… no problems at all.
Let the printed tissue paper’s ink dry for a few minutes, then carefully remove the tissue paper from the copy paper.
Then I took a piece of 8×10 burlap and used a decoupage medium and brushed on a coat.
Once coated you want to place your printed tissue paper on top of the decoupaged burlap. Make sure you have it lined up exactly how you want it before you lay it down… once it’s down, it’s not coming up without ripping.
Then gently smooth the tissue paper onto the burlap… very gently!
Once smoothed, apply another coat of the decoupage medium on top of the tissue paper.
Let them dry thoroughly. The edges will start to curl, but it flattens out perfectly when you place it inside the frame.
I love the cool… rustic… aged look you can create with this technique!
This is just one of so many awesome photo ideas! Make sure you click the image below to head on over and check out all the other ideas that have been shared so far and make sure to check back throughout the month for even more awesome ideas…. OH!! And there’s an awesome giveaway going on over at Capturing Joy!! She has 2 new giveaways going on everyday… score!
Just a reminder… use your printer with your best judgment… if I had an expensive printer I don’t think I would have tried.
Thanks friends for stopping by & have a blessed Sunday!





I love the aged effect. It reminds me of looking at old/vintage postcards, which I love!
Gorgeous! Love this idea!
How cool is this, Maryann?? I love it and thanks for the tutorial. Pinned! xo
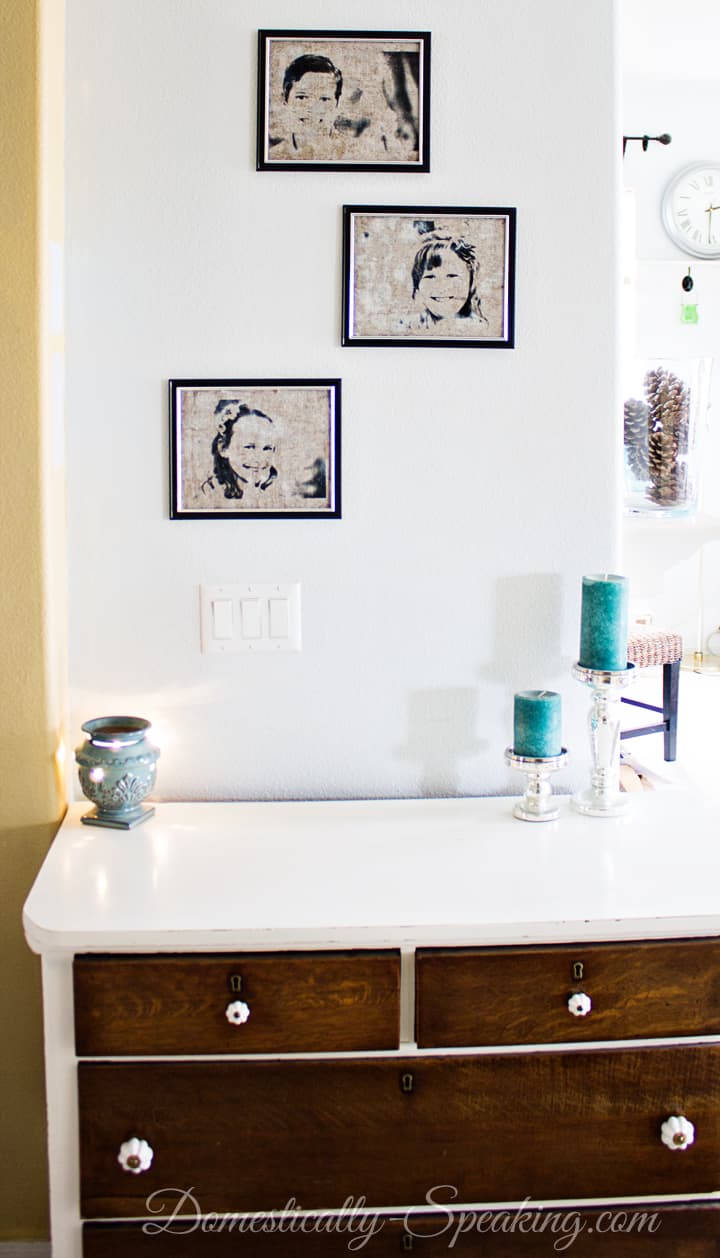
They turned out great Maryann, and I like how you’ve hung them – like not all straight. I’ll have to pop over and check out the other projects too, thanks!!
I love this! Such a cool idea! Pinning 🙂
Debbie
I love this , thanks for sharing xoxo
Love this, what type of printer do you have?
Becky I used a Lexmark ink jet printer… one of the cheaper $30ish range ones. Not sure if I’d try it on a laser or if it would even work??
Hi Maryann,
These came out stunning. I am a burlap lover too! I also love displaying pictures. I have a wonderful picture of my daughter that I have been trying to think of a cool way to display it. This is perfect! Thank you so much for the inspiration. Love it and pinning!
Oh that’s great Melissa… have fun creating it!
I’m thinking the photo needs to be face up when placing on burlap…am I correct?
Thanks Darlene!
Yes Darlene ~ you want the right side facing you.
just love this idea + so glad i got to know your blog through the pinterest project!
Thanks Sarah!
I’m nuts about this idea!!! I love it and I’m absolutely going to give it a try 🙂
xo
Robin
Thanks Robin ~ You’ll love it!
This is very cool! I can’t wait to try it! Was it a laser or inkjet printer?? It would be interesting to try it in a colour instead of black! Thanks for sharing !
The printer I used was an ink jet (cheap $30 printer). Oh… color would be fun to try!
What a great and ORIGINAL idea! I hope to try this! Thanks for sharing!
Thanks Melissa… the possibilities are endless!
You are a genius! I love this!
Thanks Sue!