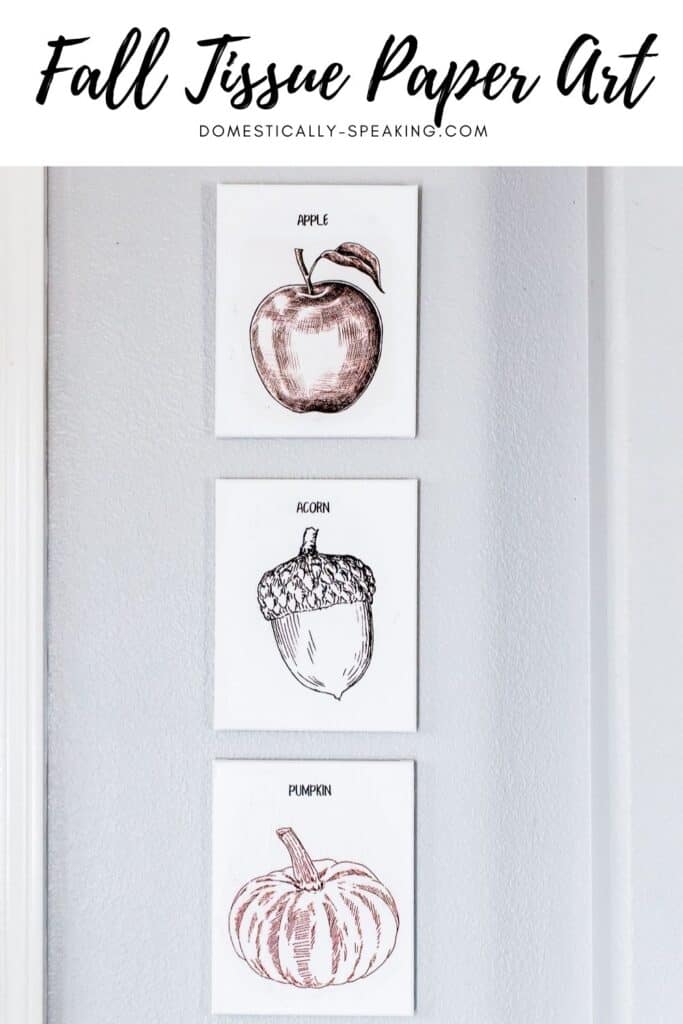
Fall Tissue Paper Art
I’ve got some cute Fall Tissue Paper Art to share for this month’s Thrift Store makeover! Last month I shared DIY Octopus Shell Art where I used one of the 4-pack of canvases that I found at our thrift store. So with 3 leftover canvases, I decided to use them along with a cool trick of printing on tissue paper, to create this fun art!
I love this fun trick and I used it on a few projects over the years. Tissue Paper Printed Christmas Ornaments and Burlap Tissue Paper Printed Photo Art are a couple of my favorites.
Tissue Paper Art Supplies
Affiliate links are provided for your convenience
- a canvas

- an image
- white tissue paper ( I used a better quality, like from a party store vs. a dollar store)
- printer
- printer (copy) paper
- scissors
- tape (clear)
- Mod-Podge
- foam brush
Fall Tissue Paper Art Directions
You start by trimming your tissue paper to about 1/2” larger (on each side) than your printer paper.

Fold over the edges and smoothly tape them down with your clear tape. I used about 3 one-inch pieces per side. Make sure you get your corners smooth, by tucking them in…
Make sure you place your tissue paper in the printer the right way… you want the image to print on the tissue paper… that is a MUST!!!
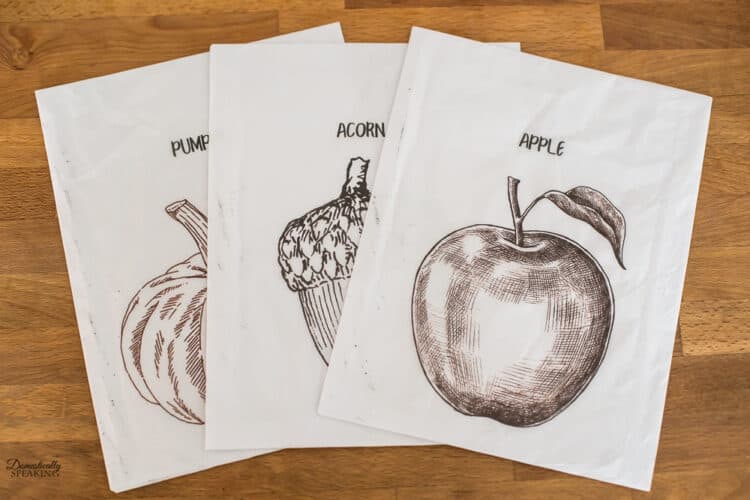
My tissue paper slide through the printer perfectly. I let it sit for a few minutes to dry completely before I remove the tissue from the paper. You want to make sure you do this very carefully as the tissue paper will tear easily.

Once I’ve removed the tissue from the paper I gently tear around the image leaving about 1″ around it.
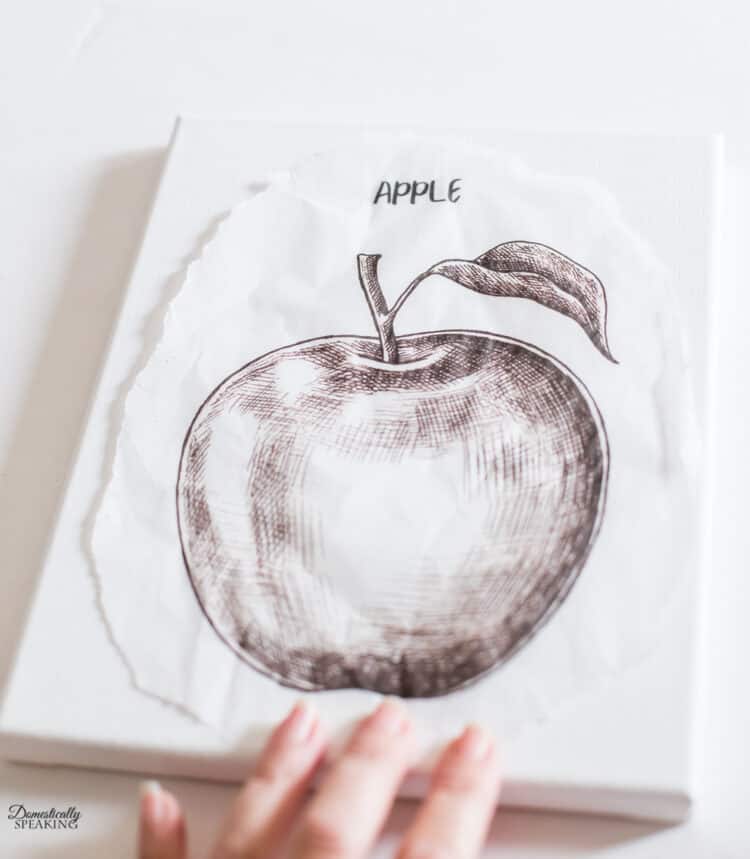
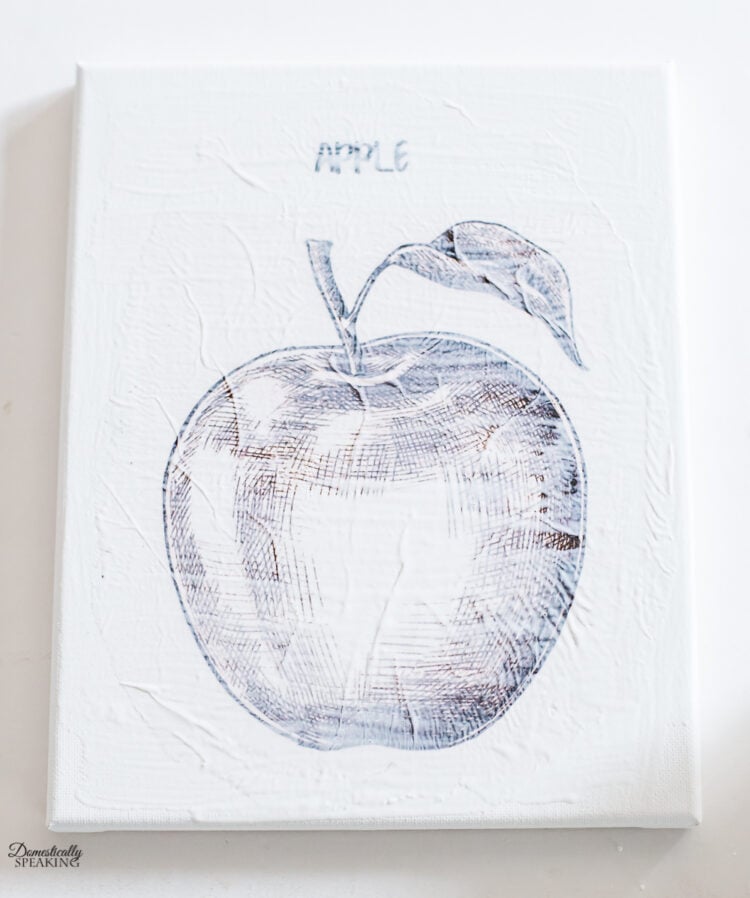
Now it’s time for the Mod-Podge. I use a cheap foam brush and put on an even thin coat over the whole canvas.

Once the canvas is coated it’s time to lay the tissue paper on top. Now, I like to start from the top and slowly press it down and I work my way down. Now you need to be careful, you can’t lift the tissue paper up once it’s touching the mod podge, it will tear.
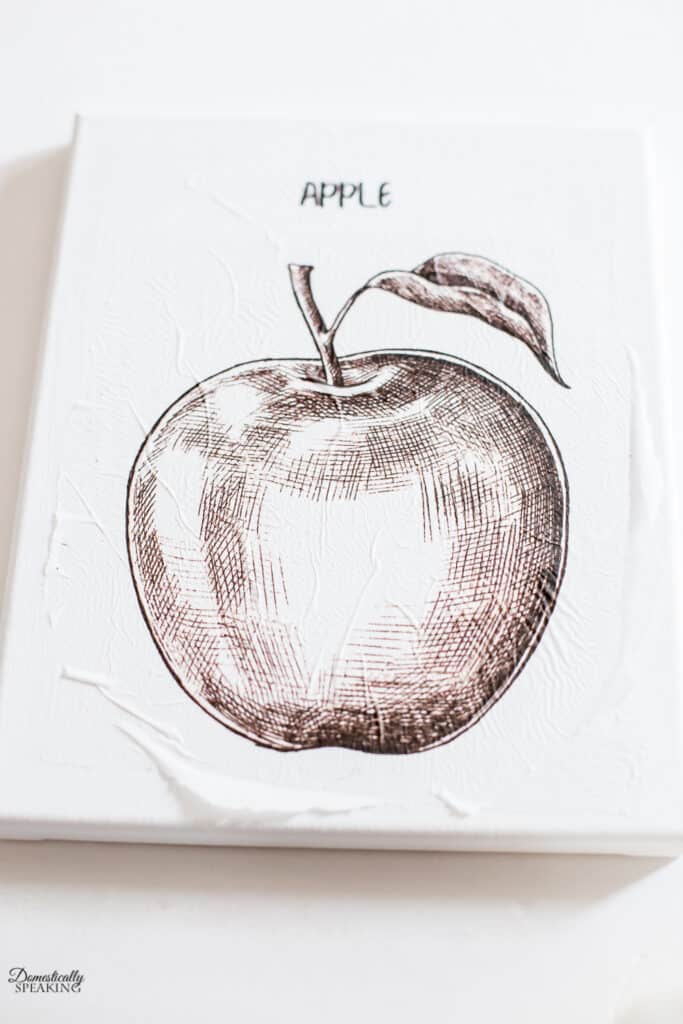
Then you need to put a thin layer of the mod podge on top of the image too. Be gentle.
Then it’s time to just let it dry. The time this takes will depend on how warm and dry your area is. My was dry in a couple hours.
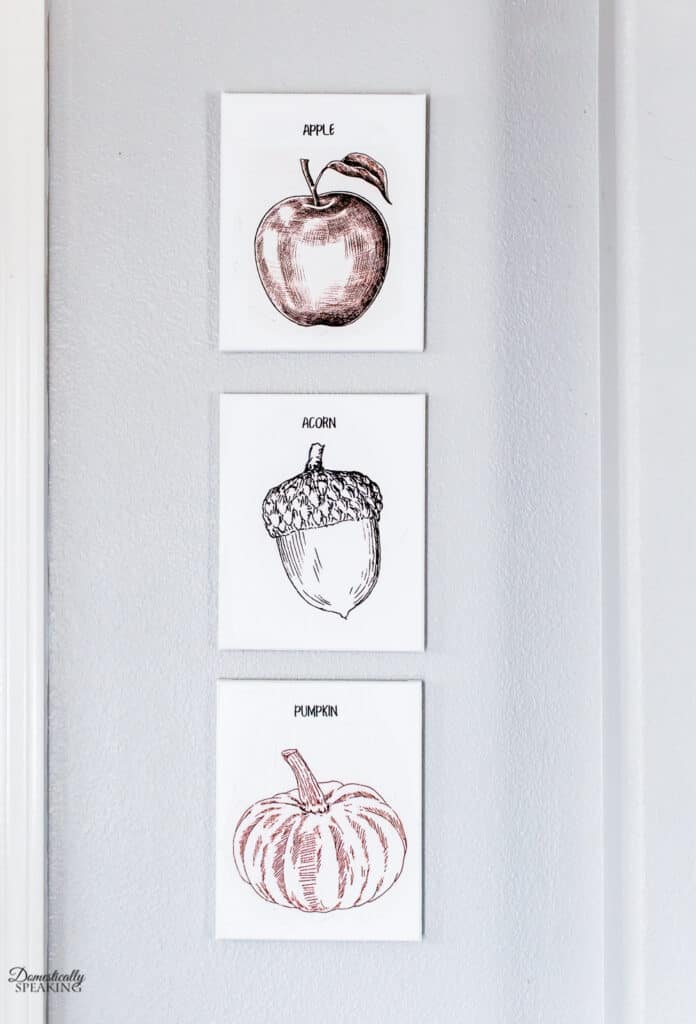
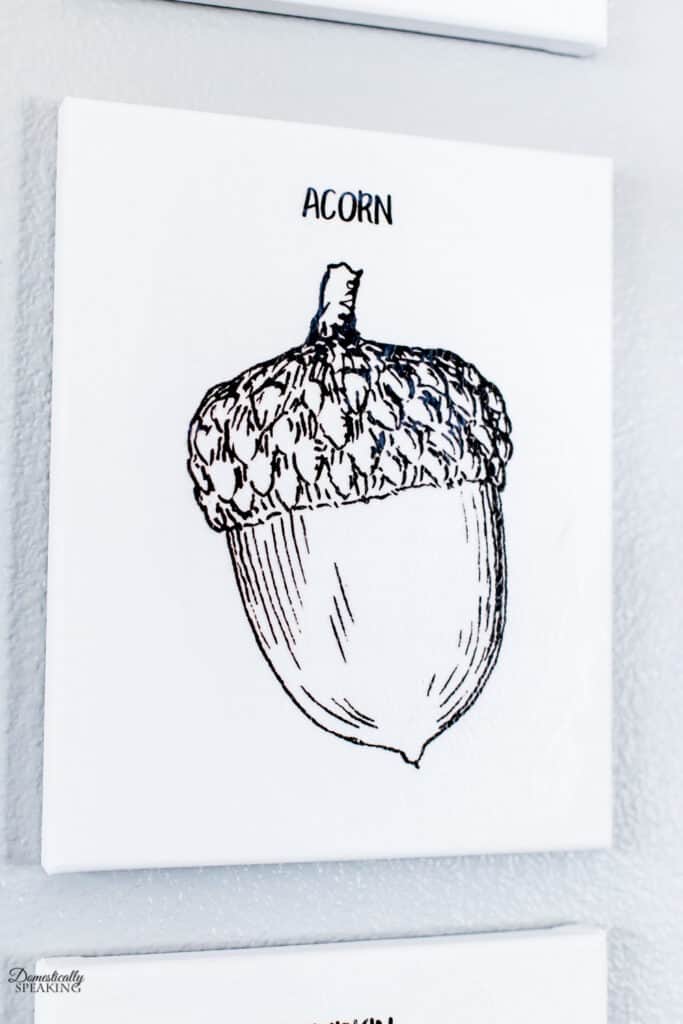
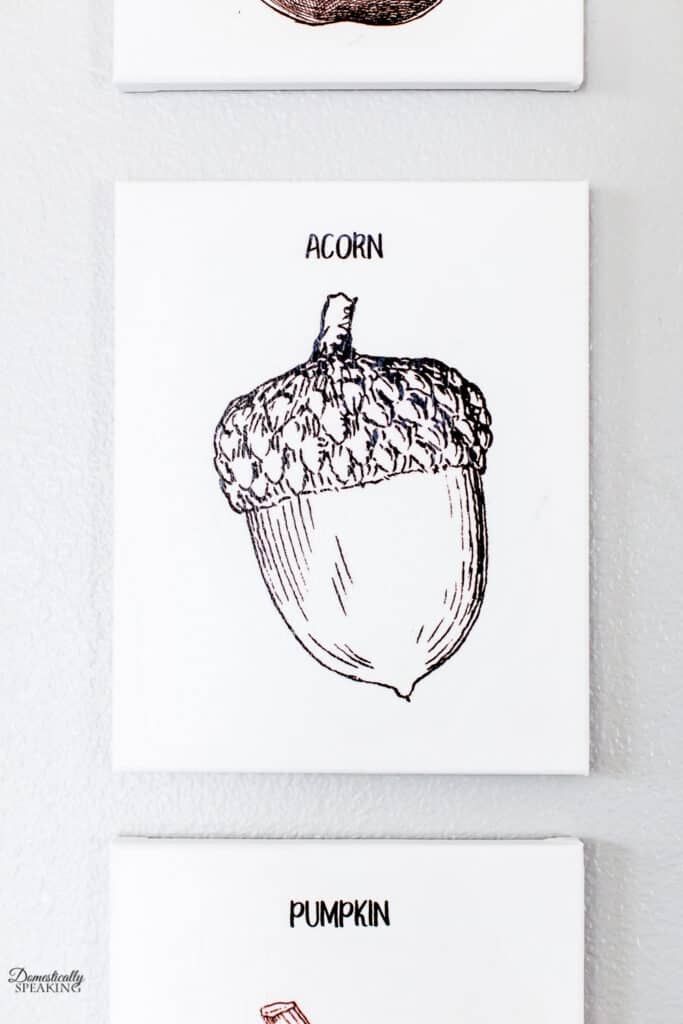
Then it’s time to hang your beauties! Such a quick and easy way to create some seasonal art!
This Fall Tissue Paper Art was so fun to make!
September Thrift Store Projects
Thrift Store Basket | Leather Belt from My Repurposed Life
Table Top Organizer Tray from Petticoat Junktion
DIY Painted College Sign from Our Southern Home
Bun Feet or Sofa Feet as Wood Pumpkins for Fall Decor from Sadie Seasongoods
Repurposed Yardstick Craft Idea from House Of Hawthornes
Good tutorial. I might be able to handle this!
Wow! They do not look like they were mod-podged at all…great job and one I think I will try!! Thanks for sharing!!
So cute Maryann!
I didn’t know about this method of printing on tissue paper, I’ll have to try it instead of my regular way. I’m thinking I should do this on wood….
gail
pinning!
I always wondered how to get the tissue paper to not just bunch up in the printer! Great idea!
Cool trick, right!
They turned out great!! Gosh, I never ever would have guessed that they were ModPodged-on! Great job.
Thanks Sarah!