Cutting Glass
Today I’m sharing about Cutting Glass. Sounds kinda crazy, but it’s easier than you think. Once you learn this cool trick you can turn your thrift store and recyclable glass into cool cloche to display your pretties!

Supplies Needed to Cut Glass:
- yarn
- nail polish remover
- a lighter (or match)
- sink of cold water
With my son as my assistant, we went to work. Make sure you have everything ready to go as this is a quick process, including the sink of cold water.

How to Cut Glass
I wrapped the yarn around a bottle 3 times and tied it off.
Then I slide the yarn off and put it a shallow bowl that I had filled about 1/8 inch high with nail polish remover.
I let it soak in the remover for about a minute before removing it.
Then I slide it back over the bottle… make sure you line it up as straight as possible… it’s going to cut where the yarn is placed.
Then came the moment my son couldn’t wait for… fire! (make sure you are in a safe area)
He lit the yarn and I held it right over the water with it angled up. It really burned smoothly. I kept turning it slowly till it burned itself out (about 40 seconds).
I immediately, gently put it in the cold water and POP – it instantly broke! It was so cool!!!

I want to make a ton more. So many possibilities swirling through my head.
I took some fine sandpaper and smoothed the edges to ensure there were no sharp edges.
Check it out…

I had fun using it as a cloche.


Hubby suggested using it to hold a candle outside.

How cute would a bunch of these be on a patio table? I used the base (that had been cut off) and a tea light candle.
I found cool glass at the thrift stores or you can easily use some upcycled glass from your kitchen.
Now checkout the rest of the Thrift Store Team’s projects!
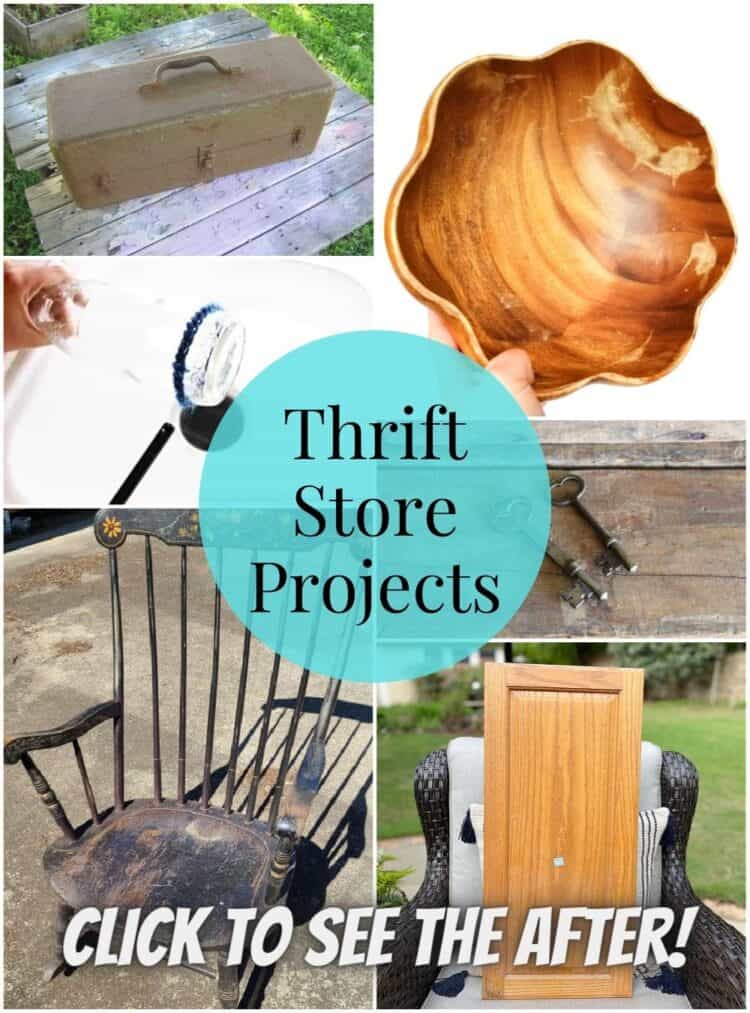
Repurposed Toolbox Jewelry Box Petticoat Junktion
Cutting Glass Domestically Speaking
Clam Shell Bowl With Baking Soda Sadie Seasongoods
Wooden Rocking Chair Makeover My Repurposed Life
Antique Skeleton Key Makeover House of Hawthornes
DIY Lake Sign Our Southern Home


Wow! I’ve heard about doing this but was never brave enough. I just bought some nail polish remover, I might track down some glass I might want to go in my curio cabinet, I have a lot of stuff and some need some protection.
This is so cool! I’ve never heard of cutting glass like this!
Maryann,
I have a fancy glass cutter that I struggle with, so it is just collecting dust! Maybe I’ll give this technique a try. I love the way your bottle turned out.
pinned!
gail
That’s cute! I’ve never tried to cut glass before, but it looks easy enough! Thanks for the tutorial!
That is so cool! I am already thinking of all kinds of things to do with it. Thanks so much….
Wow, this is super cool! I feel like if I were to try this I would manage to injure myself some how. I think it is awesome how you were able to use it for so many things! Thanks so much for sharing, I definitely will have to save this and try it one day!
That’s an interesting way to cut glass. I can’t believe the method was able to get such a straight line! The cut looks beautiful, and I can definitely see the uses for it. I don’t know if I’d be brave enough to use this method- I’d probably use more traditional glass cutting methods- but it’s a great idea for those willing to give it a try. Thanks for the information!
Hi! This seemed awesome so I tried it – but it didn’t work! 🙁 Did you use plastic yarn? I usted a cotton one… And nothing happened! Or may be the nail polish remover must have alcohol?
Wow, very cool! I had noida you could do this!
This is definitely a must try!!
I remember seeing a post on this several months ago but lost it! So glad you tried this and it worked!
How cool is this? I need to add it to my “I gotta try this, list”!!
Thanks so much for sharing!
The candle looks wonderful!
Becky
I really like it with the candle beneath! What a fun, inexpensive project to do with some thrift store glass!
Yes! I’d love to find some pretty colored glass at the thrift store.
I’ve got this pinned too–planning on trying it once we get done moving–and unpacking.
I pinned this one also…but I didn’t get a chance to try it yet.
Thanks for the tutorial and you input on this pin.
Glad to hear that it worked.
I’m so glad you tried this, Maryann! I have this tutorial pinned, too, and thought it was too good to be true. Thanks for the 2nd opinion, and I will definitely be trying it!! 🙂
Yes… it’s a must try Michele!