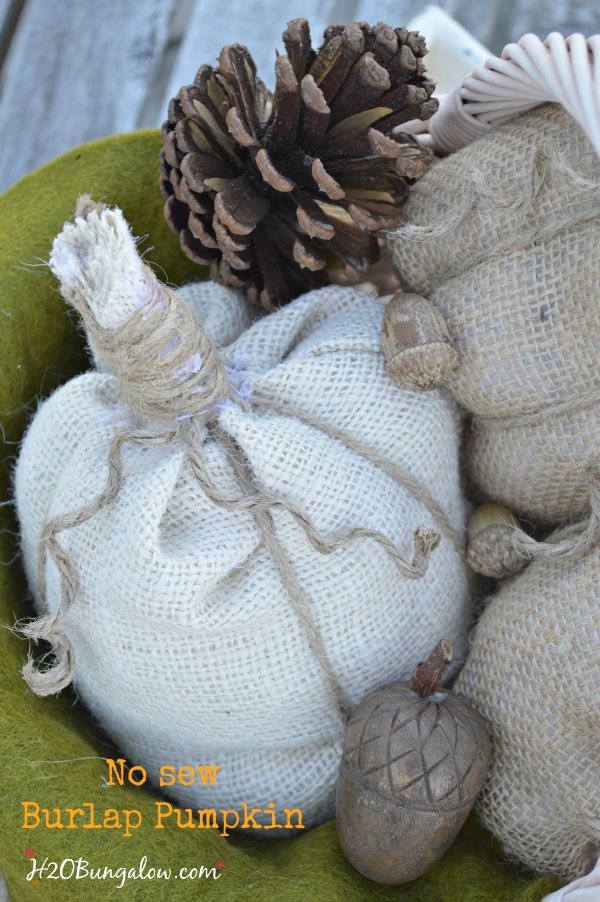
No Sew Burlap Pumpkin
Hi there, I’m Wendi from H2OBungalow where I’m always cooking up some kind of creative home decor or home improvement project to pretty up our little 1950’s coastal bungalow. Nope, I can’t cook worth a darn, but I wield a mean paint brush and can transform or make just about anything my imagination dreams up and I’m constantly stirring up better ways to make living in a small house easier. Projects like my DIY Open Shelf Vanity I built for about $100, or my 5 Creative Ways To Deal With Sentimental Clutter are a few of my favorite posts. I”m here today sharing how to make a quick and easy no sew burlap pumpkin. These little darlings are adorable alone, in a group or as part of a seasonal vignette.
I fell in love with these little burlap pumpkins the moment I saw them in our local antique mall. Needless to say, I had to track down how to make them and loved thata the vendor shared her expertise with me:) So let’s get started, OK?
This project is so simple, you can probably look at the photos to figure it out.
These are the supplies you’ll need to make your own no sew burlap pumpkin:
- burlap
- iron on fusing tape
- rubber band
- hot glue
- Decoupage or glue
- jute twine
- pencil or disposable wood BBQ skewer
- scissors
- measuring tape
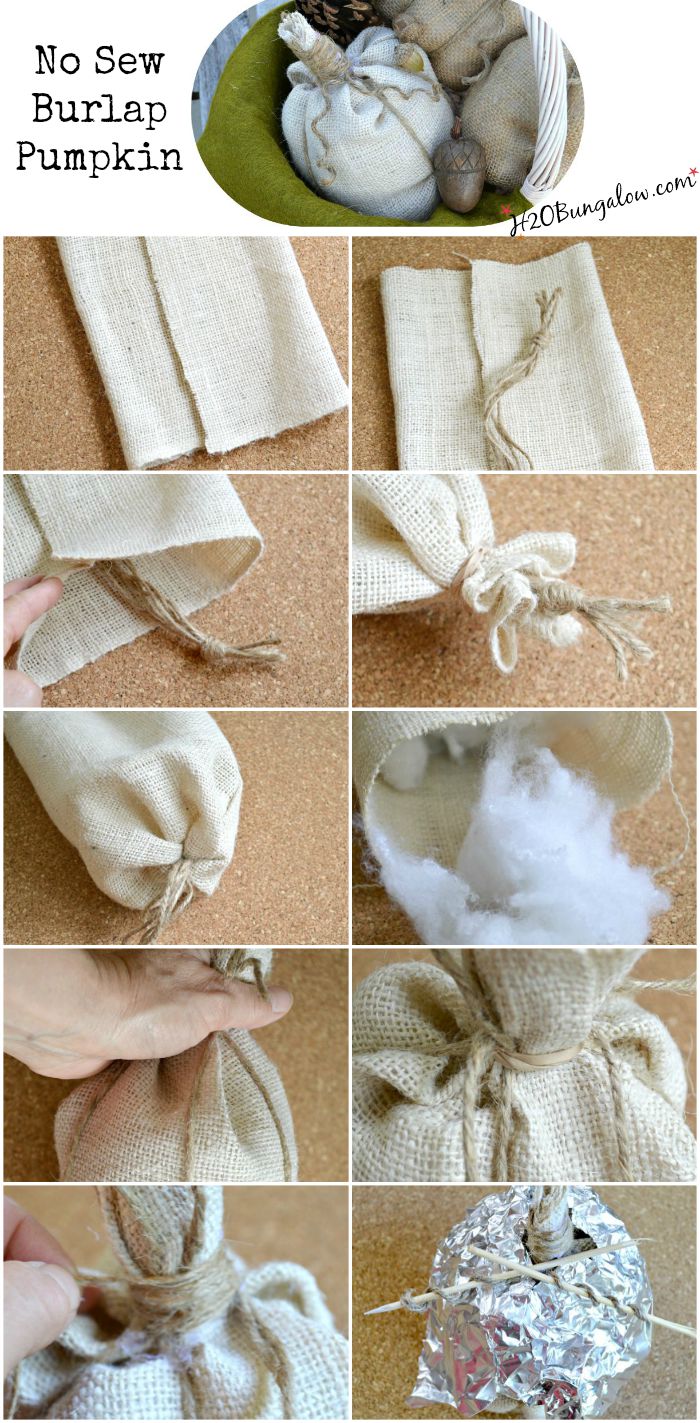
Step 1. Start with a 12″ x 16″ piece of burlap. Seal the 12″ ends together with fusing tape and an iron. Press the seam to one side.
Step 2. Cut 5 – 17″ strips of jute string and knot together at one end.
Step 3. Slip the jute inside the burlap with the knot sticking out.
Step 4. Gather the ends together and secure with a rubber band
Step 5. Turn the no sew burlap pumpkin right-side out, so the seam and jute twine are on the inside.
Step 6. Fill with polyfill.
Step 7. Arrange the 5 jute twine strands evenly and hold at the top of the pumpkin.
Step 8. Tie off with a rubber band. Pull the jute twine to make sections in the no sew burlap pumpkin.
Step 9. Leave 2 pieces of jute twine out of the stem wrap. Wrap top stem with jute twine. Use a hot glue to hold sections and wrapped twine. Trim pumpkin stem. Watch the hot glue on this step, I got a bit messy with mine and it’s hard to get off once the hot glue is on;)
Step 10. Cover pumpkin with foil or other protective cover. Use glue or Decoupage to wet the 2 jute strands, coil around pencil or BBQ skewer. Let sit for a short period of time and gently remove the stick before its fully dry.
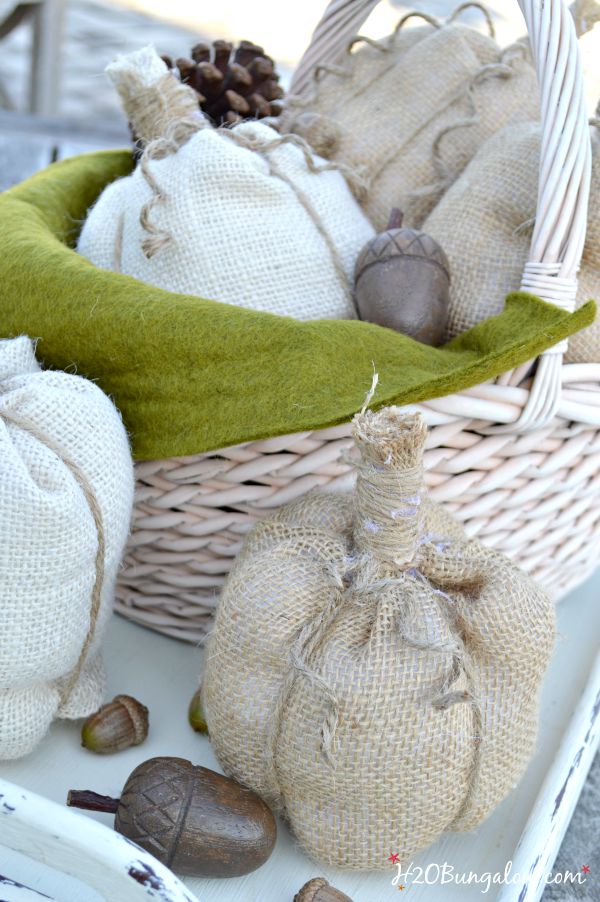
Aren’t they too cute?
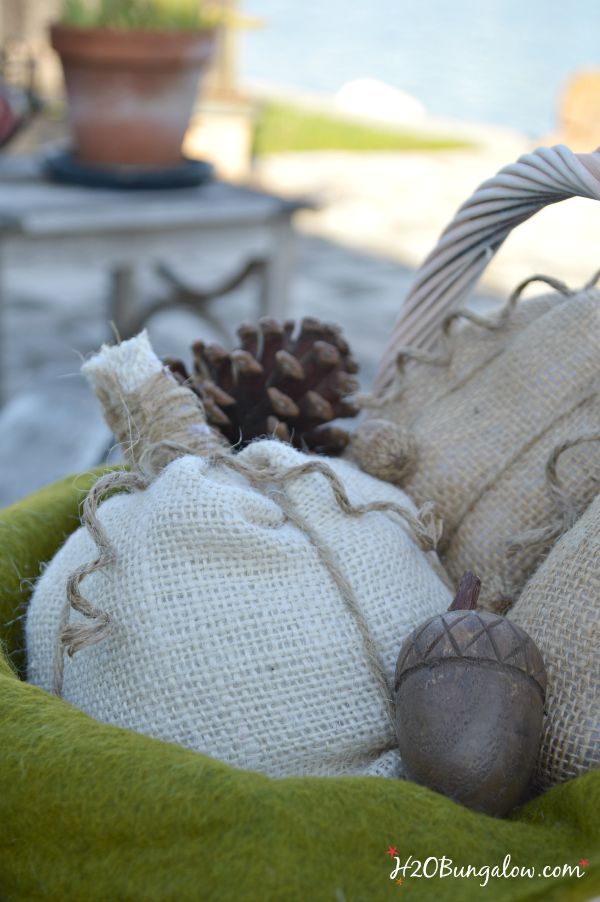
Add a few pinecones and acorns in a basket for a sweet fall vignette.
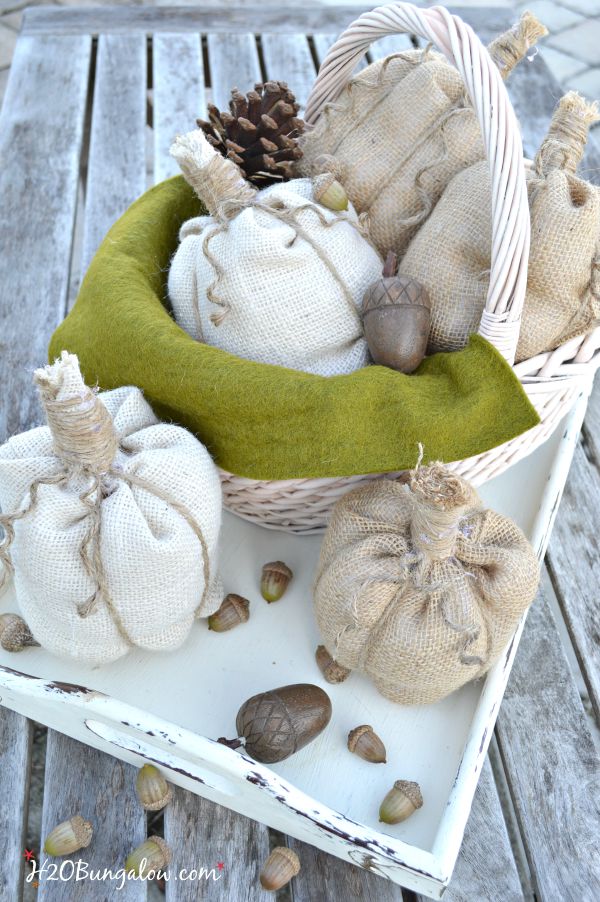
I think theyd look super in colored or patterned burlap too! Where would you put a basket of no sew pumpkins in your home?

Love the burlap pumpkins Wendi and your photography is stunning!
Thanks so much for including me in your fabulous burlap tour! I can’t wait to try some of the other inspiring projects!