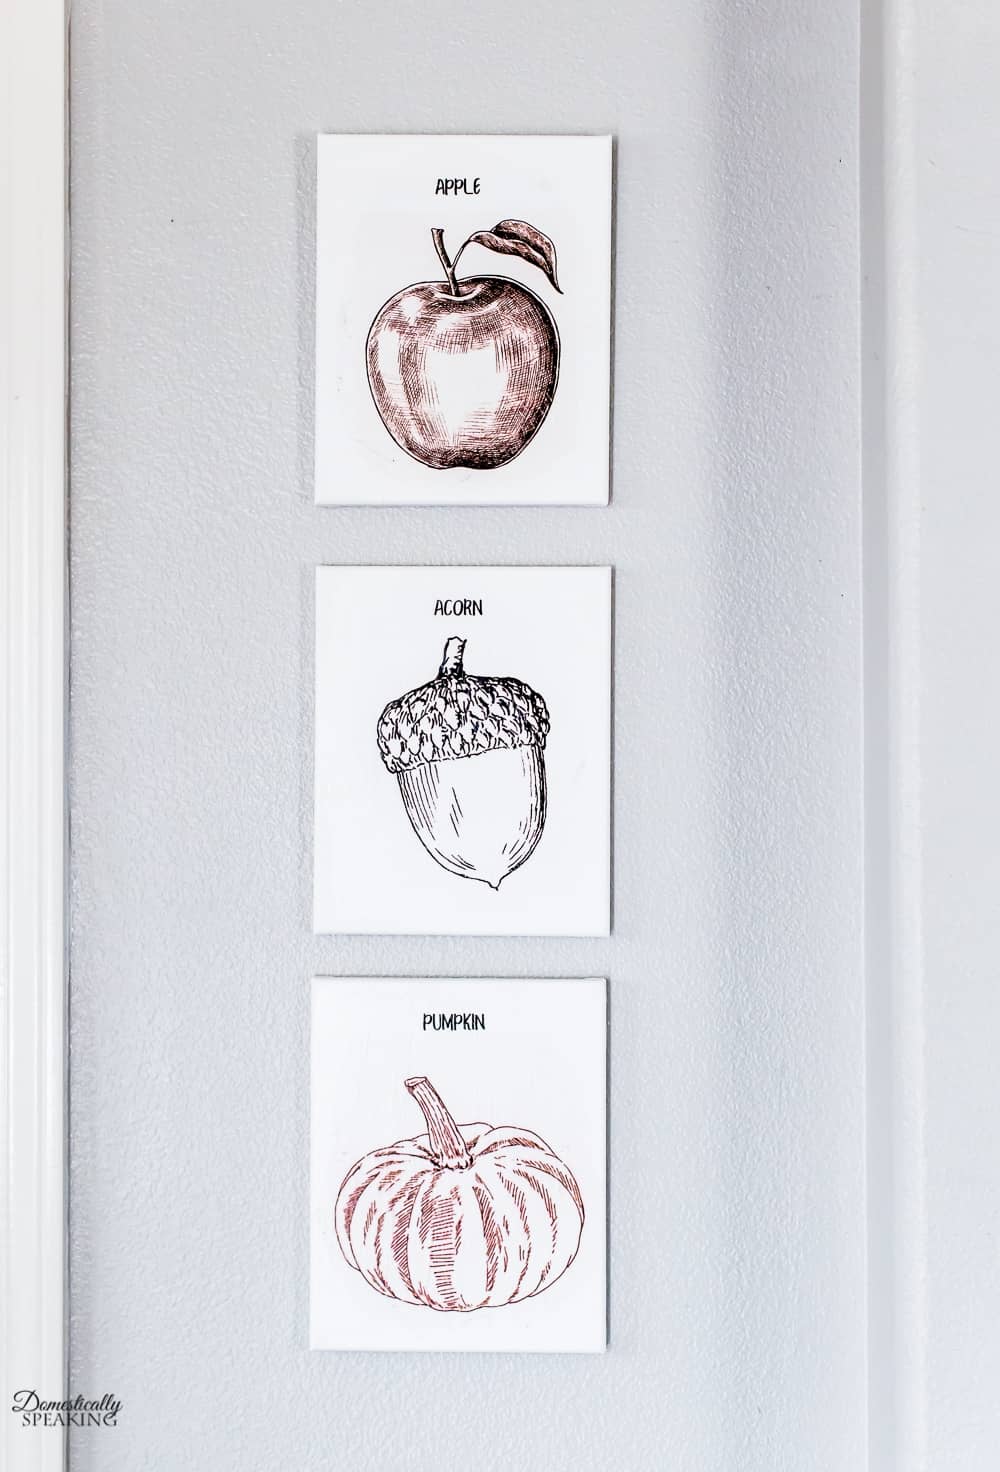
Copper Wire Pumpkin String Art


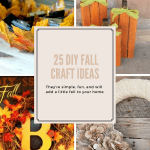
Discover how to create stunning copper wire pumpkin art that’s perfect for neutral fall decor. This easy string art project adds a touch of elegance to your home without overwhelming your space.

If you’re searching for unique DIY fall decor ideas that blend simplicity with style, this copper wire pumpkin string art is a must-try. Perfect for those who prefer neutral tones, this project transforms basic materials into eye-catching pumpkin decorations that shine in any room. Whether you’re a string art beginner or a seasoned crafter, you’ll love how this wire art pumpkin adds subtle autumn charm to your home.
Supplies for Your DIY Copper Wire Pumpkin
You only need a few supplies to make this cute copper wire pumpkin. (affiliate links provided for your convenience)
- copper weatherstrip nails #17 – I used 85 nails
- copper wire
- 10″ x 10″ piece of plywood
- white craft paint
- chip paintbrush
- hammer
- wirecutter
- needle nose plyers
Step-by-Step Guide: How to Make Copper Wire Pumpkin String Art
Prepare the Base:
I started with a 10″ x 10″ piece of scrap plywood, sanded it lightly and then used a chip paintbrush to dry brush with white paint. Love how the wood still shows through. I think this would be gorgeous with a solid gray background too. I’m loving gray and copper together!
Attach the Template:
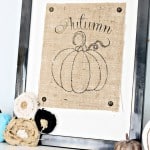
Then I took a pumpkin shape image I’ve used in the past with my chalkboard pumpkin printable and burlap pumpkin sign, and printed it out.

Painter’s Tape is the perfect solution to help hold the pumpkin image in place.
Add the Nails:

Hammer in the copper nails on top of the lines. You can see that in the lower pumpkin area I spaced them about 1/2 inch apart. In the upper pumpkin section, near the pumpkin’s stem, they were placed closer.
Remove the Template:

Time to peel off that paper. Slowly starting pulling the paper off. It’s pretty easy to do.

Most likely you’ll get a few pieces of paper stuck in a few nails. Tweezers are the easiest way to get those strays out.
Wrap the Wire:

Then it’s time to start wrapping the copper wire around the nails. Using needlenose plyers I will wrap the end of the wire around the nail I want to start with, using the needlenose to pinch the wire tightly to the nail after I wrapped the wire around the nail a few times.
To make the shape with the wire, I would wrap the wire around each nail once, then move to the next nail.
If need be, you can cut the wire and end a strand and restart the wire somewhere else. That is what I did. The lower pumpkin is one strand of wire and upper is another strain. When you finish a strand, you do the same as how you started by wrapping the wire multiple times and then pinch with the needlenose plyers.

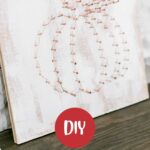
The copper is just so pretty! I love the sun bouncing off the copper finish.

Why You’ll Love This Wire Art Pumpkin
This string art pumpkin isn’t just easy—it’s affordable and customizable. The copper finish adds a warm, metallic glow that’s perfect for modern homes. Display it on a mantel, shelf, or as part of a gallery wall for instant fall home decor.