
Paint Your Own Pumpkin Canvas

Learn how to paint your own pumpkin canvas to add a charming, handmade touch to your fall decor. Perfect for beginners and seasoned artists alike, this step-by-step guide will help you create a vibrant pumpkin masterpiece using simple acrylic paints and brushes. Let’s dive into this cozy fall project and bring those warm autumn hues into your home!

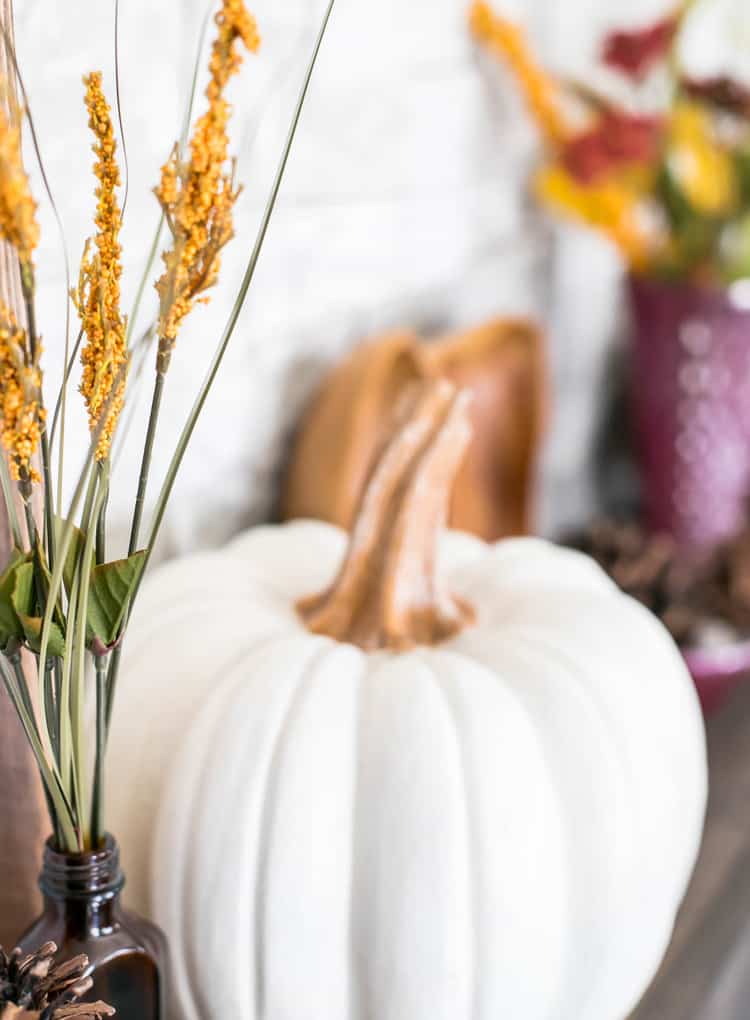
I just love Fall! I don’t do a whole lot of Halloween decorating but I love setting out ‘Fall’ themed decor and going through all of the isles in the stores and looking at all those gorgeous oranges, browns, golds, yellows. LOVE!!! So what better way to decorate your home than a canvas painting.. made by YOU! Yes, by you! Today I’m going to take you step by step to Paint Your Own Pumpkin Canvas. You can make this any size pumpkin on any size canvas. There’s no wrong or right way, art is art.

Materials Needed
- Acrylic paints is brown, orange, olive, reddish brown, black and white
- A cup of water
- A couple paper towels
- A flat brush and a narrow brush
Step-by-Step Instructions to Paint Your Pumpkin Canvas
Step 1. Shape Your Pumpkin: I just used my flat paint brush start by creating a top of a heart and do the same for the bottom. You do NOT want this to look even or try to be perfect. Just go with the flow of the brush.

Step 2 Add Highlights: Wipe off the paint and using the the tip of the flat brush on one side put a dab of white paint and the other put the orange again.

Step 3 Define the Ridges: Make sure the white tip is facing on up and then create the lines in your pumpkin rounding down towards the bottom of the pumpkin. We aren’t giving the bottom part highlights, there we will add shadows.

Step 4 Create Shadows: Take the thin narrow brush and use the reddish brown paint to add a little definition to the the bumps in the pumpkin. This time you will use the reddish brown on the bottom part of the pumpkin along with the top. Notice I covered up those white highlights, so I re-added those in the next photo. (Make sure you wipe off the brush with water and your paper towel between colors.)

Step 5 Paint more Highlights: Now I’ve added those white highlights back to the top. Then taking the brown and a hint of black adding some shadows to the bottom.

Step 6 Paint the Stem: Then take your brown paint and create your stem.

Step 7 Add Vines: Fill the stem in with the brown- but then pick up a little color with the tip of the narrow brush and make that little oval giving the stem that 3d look (come down the stem on each side just a little). After wiping your brush really good, use the olive color and make vines coming from the stem.

Step 8 Craft a Shadow: I picked up some brown, white and a little black and created this mucky shadow.. it’s a shadow make it look a little messy.

Step 9. Wipe your brush off and add only more white staring on the outer part of the shadow, just to soften it a little.

How cute is that!? If you try to Paint Your Own Pumpkin Canvas, I would LOVE to see it! Please post your link and share it with us.
Tips for Success
- Wipe your brush between colors to keep hues vibrant.
- Experiment with canvas sizes to suit your space.
- No need for perfection—art is about expression!
Thanks Mindy from My Creative Scoop for sharing this 5 min craft! For more DIY projects and inspiration please visit My Creative Scoop.


This is so lovely!
This looks so incredible! Pinned and tweet. Thank you for being a part of our party. I hope to see you on Monday at 7 pm, because we love to party with you! Happy Halloween~Lou Lou Girls
That pumpkin is darling and you make it look so easy! Love it!
Hi Maryann, great step by step instructions! You’ve inspired me to give it a try, maybe with watercolors ?
Love this!! What a darling piece of art for fall decorating!!