Simple Fall Burlap Banner
Hi there, I’m Lucy and I blog over at Patina Paradise about repurposed items and furniture makeovers. I love patina, thrifting and creating things that I love on a dime. I’m so happy to be part of the Maryann’s Burlap Series and to share with you today a secret… and a simple burlap banner for fall or Thanksgiving. This secret will make crafting with burlap sooo much easier, I promise.

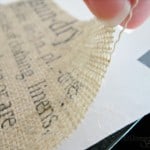
I discovered them about a year ago in the craft section of Walmart around this time of year. I haven’t been able to find them anywhere else (believe me I have searched and searched)… burlap sheets that have been laminated on one side, so you get all of the goodness of burlap and a super easy way to send them through the printer for printing your designs on. And the lamination makes it easier to cut and it doesn’t fray! If you can’t find these sheets, you can get a similar effect by using fabric stiffener or by simply using craft paint on two 8 x 10 inch pieces of burlap.
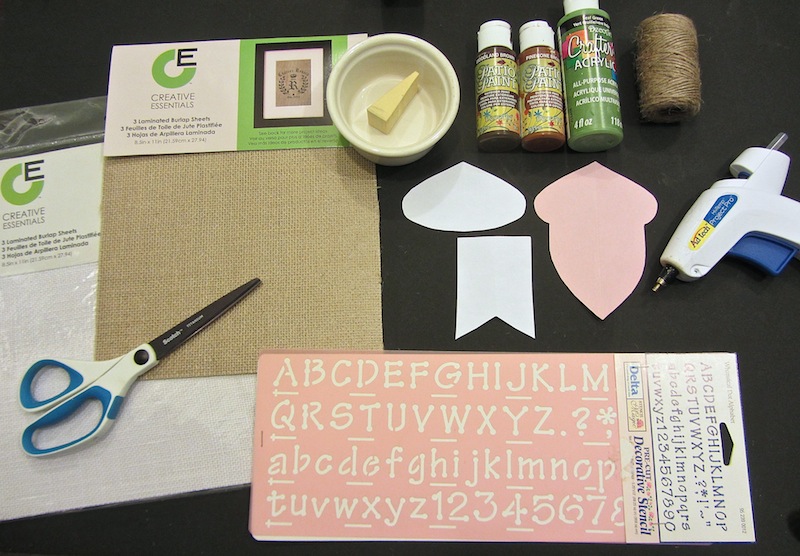
What you will need for this project…
- two 8×10 laminated burlap printer sheets or equivalent burlap fabric
- good pair of scissors
- scrap paper for cutting out the templates
- hot glue gun
- twine or ribbon
- craft paint in brown and green or any other colour you like
- stencil for lettering
- makeup sponge or stencil brush for applying paint
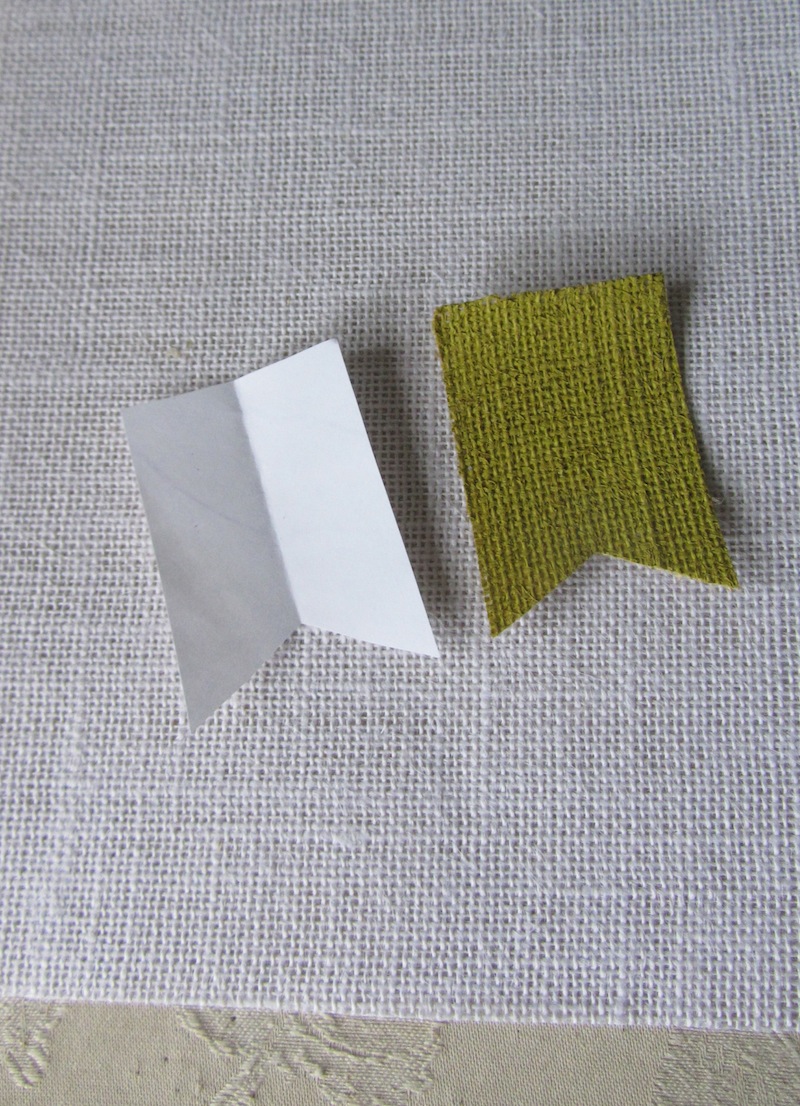
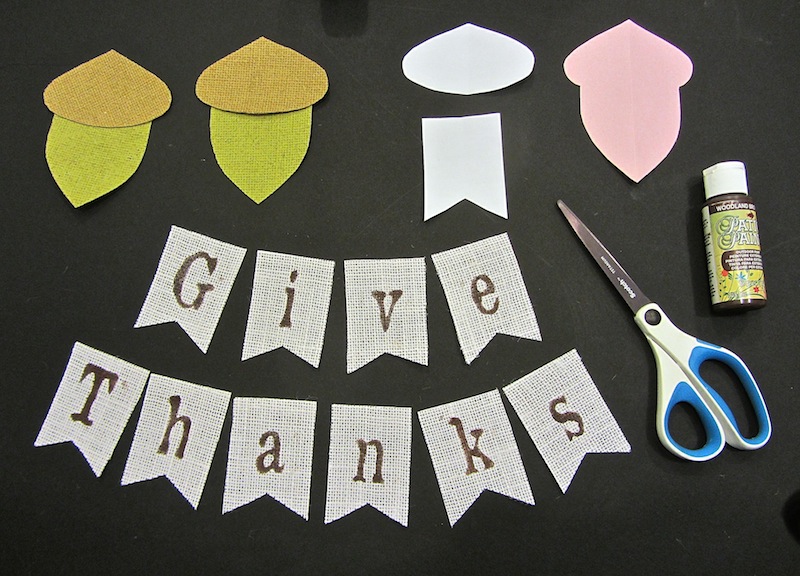
If you can’t find these sheets, the first step is to stiffen the burlap with paint or fabric stiffener. I painted two 8×10 sheets, one with green acrylic craft paint and the other a medium brown. I used one white burlap sheet to make the banner with. *Note that the burlap is very porous and will soak up a substantial amount of paint. Once it has dried it will have a tendency to want to curl, so place the sheets under some heavy books to flatten them out. Of course you can also leave the burlap its natural colour and use glue or fabric stiffener on it if you don’t want it to fray.
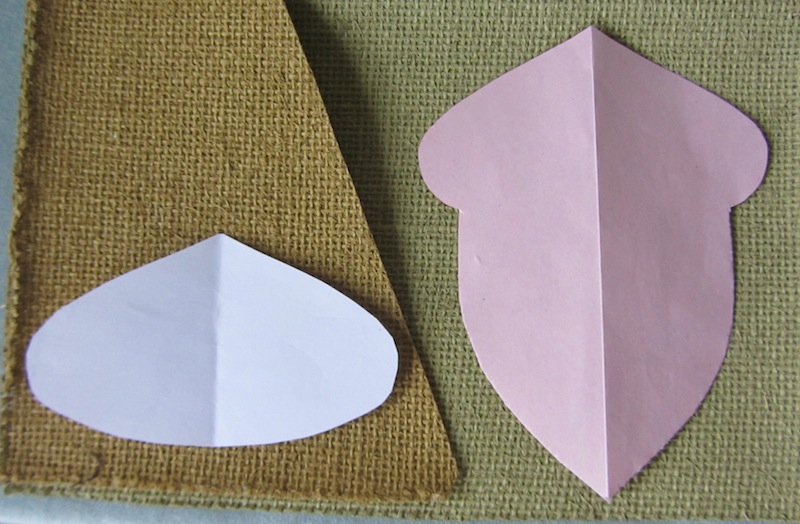
Once you have your burlap ready to use, you need to cut templates out of paper. I folded a piece of paper in half to cut out templates for the acorn and banner shapes. (This is an easy way to get a shape that is perfectly symmetrical). I decided that I wanted to make mine small enough to fit a particular piece of wood that I have in my Autumn display. You will need 10 little banners to spell GIVE THANKS.

Use the hot glue to attach the acorn top over the acorn shape.
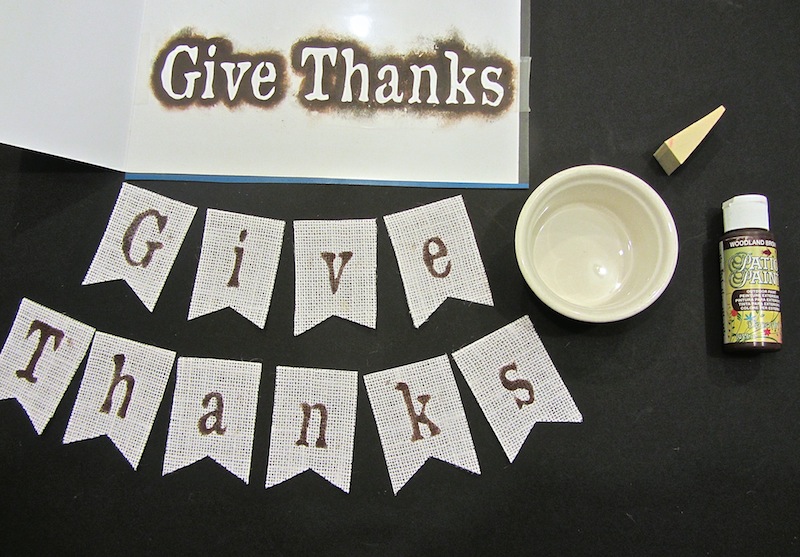
I happened to find a stencil that I had cut out of a transparent file folder from another project. I used some dark brown craft paint that I had on hand, but you could use whatever colour you like best. I also used a makeup wedge sponge to dab the paint on the letters. Dab the excess on a piece of paper towel. And then dab it over the alphabet stencil of your choice. You could also freehand the letters if you feel confident enough.
Once you have stencilled the letters on the single banners and cut out and glued the acorns you are ready to assemble your banner.
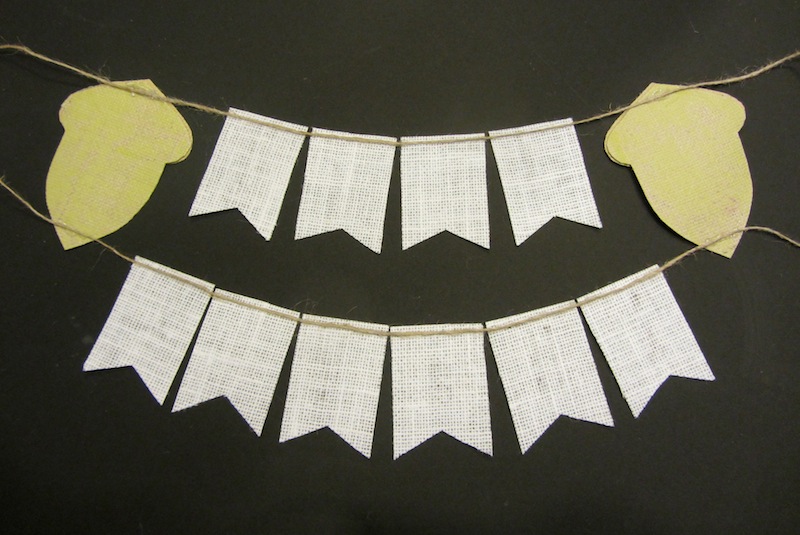
Now turn them over and measure out two long lengths of twine. Remember to place the letters from right to left… With the first letter of each word on the far right and continuing to the left. One by one add each flag starting on one end and continuing until you have finished both rows. You can attach the two banners to the top and bottom of the acorn. Of course this is optional and does not make a difference.

Once I turned the banner over and placed it where I wanted, the acorns disappeared into the background, so to punch them out, I used the same brown paint that I used for the letters and dabbed a the edges of the acorns and acorn tops with it.
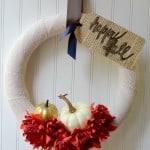
Here it is in my Autumn vignette. I love how it looks together with all of the other elements. Hope I have inspired you to give making a burlap banner a try.

You can see my funky pumpkins in my Autumn decor HERE
And You’ll never guess what I made the wreath in the display above out of. You can find out HERE
Lucy Patina Paradise FB Instagram Pinterest Twitter
Burlap is such a great material for big or small banners, especially for an autumn theme! Thanks for sharing, I can’t wait to try this in a few months!
Great share!!
Cool ideas to use banners. Feeling amazing:)
Awesome. I just may have to make me some for my porch. I like those thanks for sharing.