
How to Create Scallop with Paint
I’ve updated this oldie but goodie post on How to Create Scallop with Paint
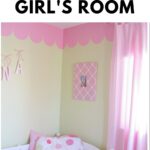
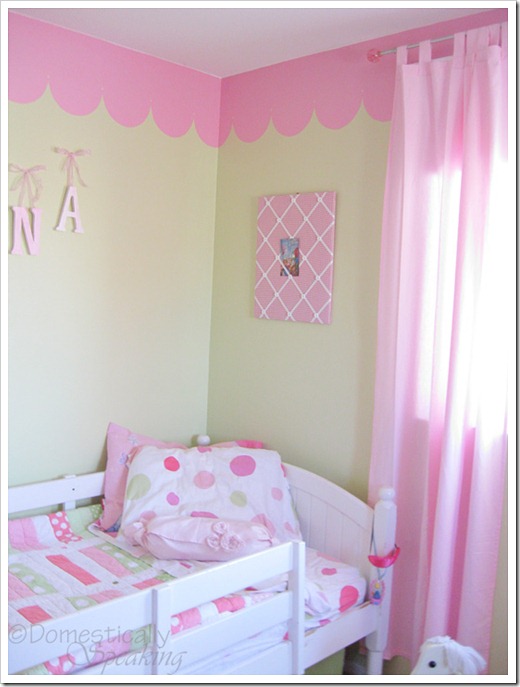
When my daughter was younger I created this fun and adorable paint detail in her room. Creating a scallop board is super easy to do and makes such a fun addition to a little girl’s room.
Supplies to Create a Scallop Border
Affiliate links are provided for your convenience.
- ruler
- long level or yard stick
- paper plate
- pencil
- paint
- paintbrush
- roller
- Q-Tip
How do you paint scallop borders on walls?
I decided to make my initial measurement at 8 inches from the ceiling. I decided on this height based on the doorframe and closet frame in her bedroom. I wanted to see most of the scallop detail!
I took a ruler and measured 8 inch marks around the room, about 3 feet apart.
Then I took my long level and connected the lines to make a continual line around the room at 8 inches from the ceiling.
To create the scallop I took a cheap paper plate and folded it in half.
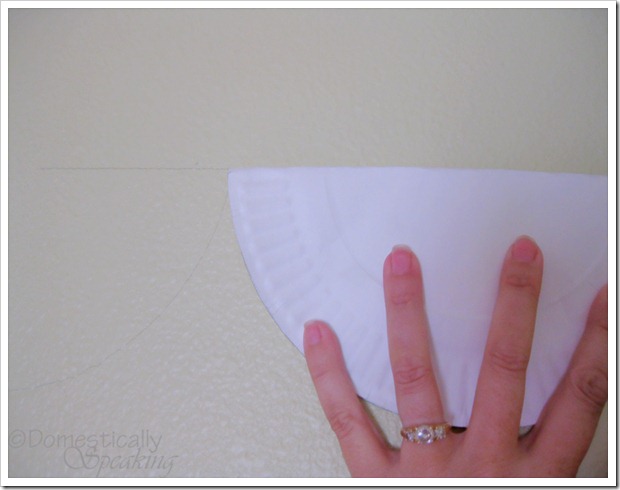
I took the flat edge of the folded paper plate and placed it along the line. I started at one of the corners of the room and worked my ways around, tracing around the curved base of the plate to create the cute scallop.
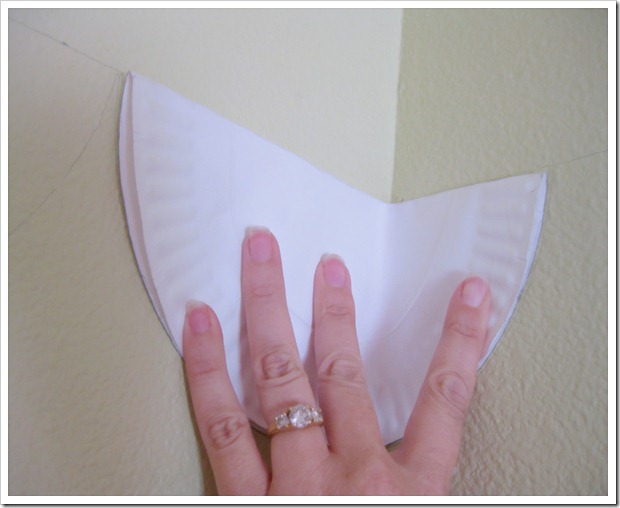
Here you can see how I handled the corners of the room. The beauty of the paper plate… it bends!
Then I took my Checkerberry pink paint by Glidden and my paintbrush to cut in around the ceiling and the scallop edge.
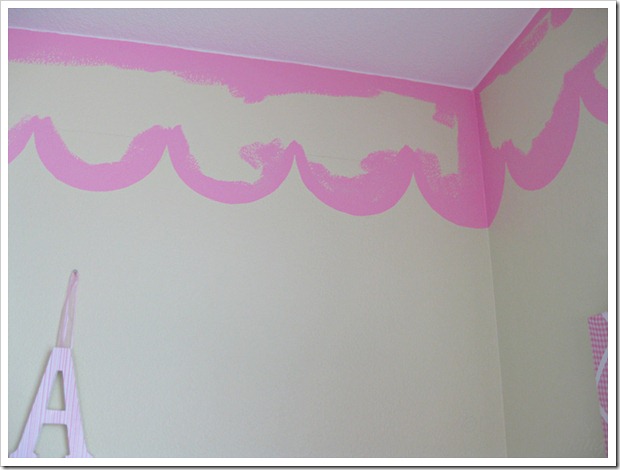
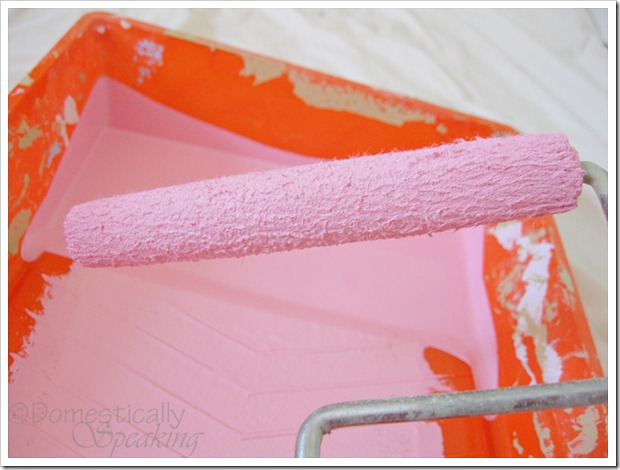
Then I used this cute thin roller (love this one too) to fill it all in.
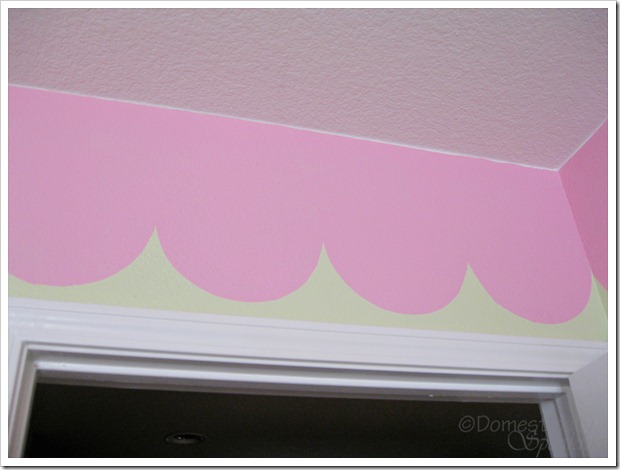
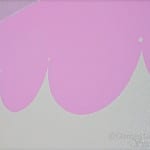
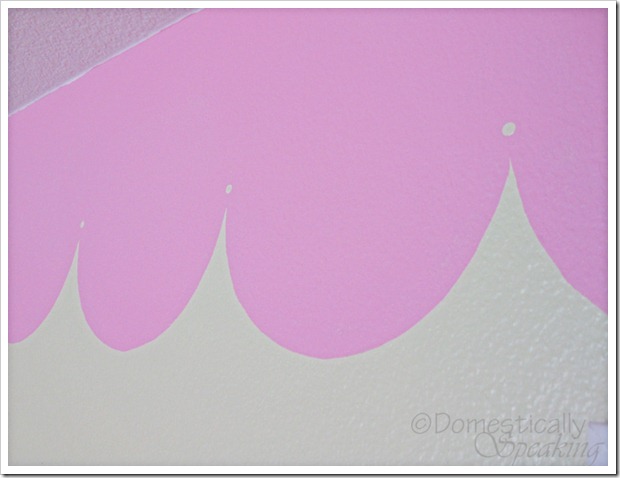
Here she is all pink before I added the little green dot.
This is where I used the nifty Q-tip to make the cute little dot that really completes this project…
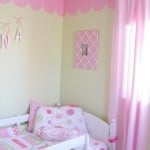
The green paint in her room is called Celery Sprig by Behr.
I spread this project over a few days, but in total it took probably around 2 hours.
2 hours = HUGE transformation… LOVE it!
If you missed all the other pics of her pink scalloping you can check them out HERE.
Such an adorable idea!
SO ADORABLE!! Thanks for such a great tutorial (you're so brave!) and for linking up to Style Feature Saturday! Awesome! -shaunna 🙂
I love your scallops!!!!
They are soooo precious!!!
Great job!!!
I just discovered your blog and I am sooo glad that I did!!!
The paper plate is genius
great idea, using a paper plate! thanks for sharing!
Thanks for linking up to the Mad Skills party this week!
My little girl has a pink and green room too, they are such adorable colours for a little girl.
You are one clever and crafty girl! Well done!
Genius and gorgeous! You continue to impress me.
I'm going to have to keep this in mind when I start painting bedrooms. Very cute!
It looks great! Thanks for showing the 'how-to'!
Very clever, and great results! Makes me wish my girls were a bit younger – they are closing in on the teenage years, so a scallop probably wouldn't be the look, but I adore it.
This is almost exactly like the paint treatment I did in my daughter's room a few years ago. Only we painted the scallops the other direction and the bottom 2/3 are pink and the upper 1/3 is green. I measured the walls exactly and then determined what would make an even amount of scallops and made a scallop pattern. I also borrowed my brother's laser level. I just love this look. We're ready to make some changes in her room and I will miss that paint job. Your little dot accent is adorable. Wish I had done that! 🙂
Such a wonderful project with so much pleasure gained in the results; the room looks so sweet!! Question: Did your scallops meet up perfectly at the beggining/end, or did you have to make one scallop smaller/larger?
Wish I had a little girl!! 😉
Victoria
love it…you are right, the little q-tip dot is what really sets it off…what a lucky little girl!
Dropping by again to let you know that I featured this.
https://thespeckleddog.blogspot.com/2010/08/weekly-faves.html
What a wonderful idea and how super cute!!!!! Thank you so much for sharing!!!
Amazing job! You must have a very steady hand!
that turned out so seriously cute! very creative technique. I'm totally saving this link for future reference. 🙂
How clever of you and it turned out fantastic, I love the paint color!
This is SOO cute!! What a great idea Maryann! The little dots are fabulous. 🙂
So cute & the dot does make it! It looks like your walls have some light texture. That's what we have and I thought it would be such a pain to try and paint designs. I think I'll try this when I redo my laundry room.
What a great detail. How clever of you to use a paper plate!
Another friday's favorite for sure~
I need a little sumpin-sumpin in my guest bathroom!
OMGosh! That is super cute and I think I could tackle it in my little girls room!! Thank you for the inspiration! And thank you for the comment on my blog…I am thrilled that you will be putting it in the PoPP Spotlight Saturday!! Yay!!
Great tutorial…love the paper plate idea!! The room looks beautiful! Thanks for sharing!
Wow!! You make it look so easy too!
I love this treatment. And the dot at the top of each scallop really makes it stand out. Beautiful idea and execution.
Traci
Very clever…I love how you did that!
Thanks for the tutorial and for telling us the paint color I am all over this project, thanks for sharing!
genius, you're a genius. a paper plate and a q tip. unreal! i love it!
thx for sharing the tutorial. It looks fabulous for a 5 year old's room! Love the pink and green together.
Awesome job. I love the simplicity of it and the finished look is amazing.
Thanks for the tutorial!
suzy
I love this look! I think I'll do this in my soon-to-be-3-year old's (sniff, sniff) bedroom. I'm so glad you shared about your paper plate trick…I was concerned about those corners! I love Lori's idea for a rhinestone…
Great job!
A paper plate how perfect and easy. The dot is the finishing touch, maybe a rhinestone or two would add some glam.
The whole room is adorable! Using a paper plate for the scallop – genius!!!