
DIY Velvet Pumpkins
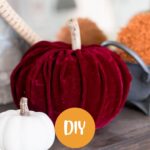
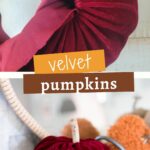
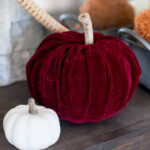
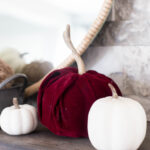
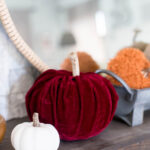
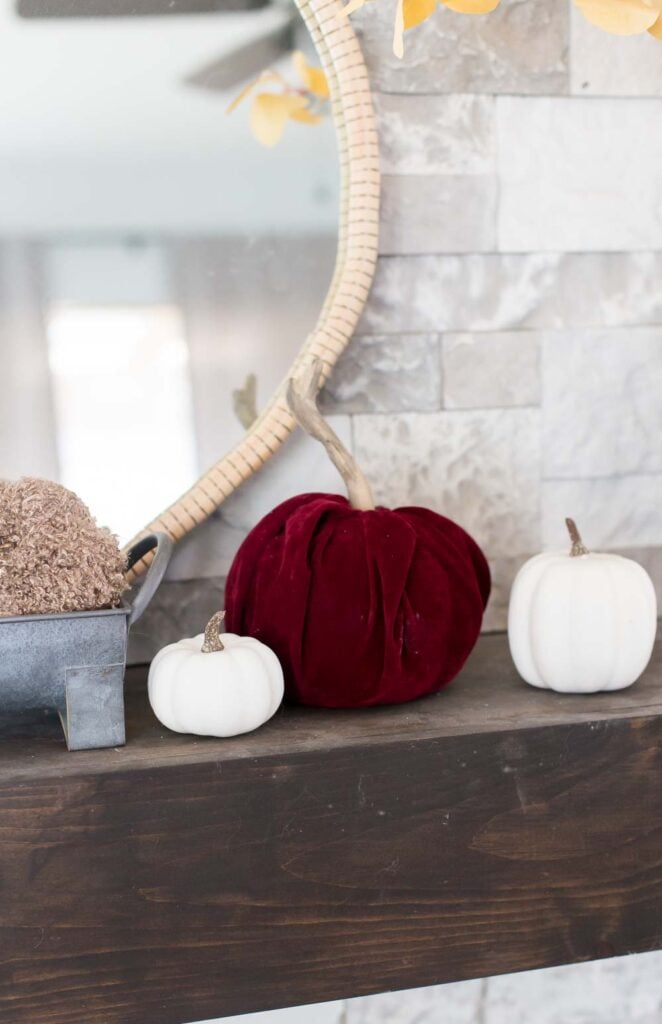
DIY velvet pumpkins are one of the easiest ways to get that high-end fall look without spending a fortune. Using Dollar Tree styrofoam pumpkins and thrifted (or curtain) velvet fabric, you can make elegant, soft, textured pumpkins that look like they came from a boutique—for under $2 each.

No sewing required. Most of these take about 5 minutes once you get the hang of it. Perfect for beginners, thrifters, and anyone who wants beautiful autumn decor on a budget.
These velvet pumpkins instantly elevate mantels, coffee tables, entryways, and Thanksgiving tablescapes. Mix sizes and colors for a collected, layered look that feels intentional and expensive.

Why You’ll Love These DIY Velvet Pumpkins
- Extremely budget-friendly: Dollar Tree pumpkins + thrifted velvet = under $2 per pumpkin
- Fast: 5 minutes each after the first one
- No-sew: Fabric tucks snugly; hot glue is optional
- Fully customizable: Any velvet color, size, or stem style
- Looks high-end: The rich texture fools everyone
Supplies Needed for Velvet Pumpkins
Affiliate links are provided for your convenience.
- Styrofoam pumpkins: You can find these at your local Dollar Tree store for a reasonable price or order foam pumpkins here
- velvet fabric (I used a curtain panel): Choose your desired colors of velvet fabric for the pumpkin’s exterior. Amazon Velvet Fabrics
- knife: I used a steak knife
- fabric scissors
- stems: I used driftwood, but cinnamon sticks or these pumpkin stems would be cute. You could also use real pumpkin stems.
- hot glue gun and glue sticks
Step-by-Step DIY Velvet Pumpkins Tutorial (No-Sew Method)
Step 1: Gather Your Supplies
Assemble all the necessary supplies. Ensure you have enough fabric for covering the styrofoam pumpkins and have your hot glue gun plugged in and ready to use.

Step 2: Cut Out Styrofoam Stem
Use your knife to cut round the stem in the center of the pumpkin.

Step 3: Cut the Fabric
Lay out your velvet fabric and cut it into squares large enough to cover each styrofoam pumpkin completely. A good guideline is to have a fabric square that is about 1.5 to 2 times the width of your pumpkin. Using the Dollar Tree pumpkins I cut my velvet fabric into the size of 18″x 18″.

Step 3: Wrap the Fabric
Place the styrofoam pumpkin in the center of the fabric square. Pull the fabric up and stretch velvet around the pumpkin, gathering it at the top. I started with a corner, and trimmed the edge off the corner and pressed it in to the center. Then I just went around in a circle pulling up the fabric and pressing it into the center. I didn’t use the hot glue because the fabric fit in perfectly snug, but if you want to here’s how. Use your hot glue gun, and squeeze the hot glue into the hole where the stem use to be. Press the gathered fabric into the hole to secure the fabric in place at the top of the pumpkin.

Step 4: Add a Stem
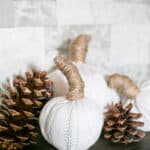
Mine fabric was pretty snug so I just pressed the driftwood stick into the center and it held beautifully. If you want add hot glue to the end of the stem you will be inserting into the pumpkin opening. Push the stem into the opening and hold for 10 seconds to allow the glue to dry. You can get creative by finding a twig, or a yummy smelling cinnamon stick.

Tips and Tricks:
- Mix and Match Colors: Experiment with different colors and textures of velvet fabric to create a diverse collection of pumpkins that complement each other.
- Personalize with Embellishments: Consider adding decorative elements like leaves or tendrils to your pumpkin.
- Group Them Together: Display your DIY velvet pumpkins in a decorative bowl, on a mantel, or as a centerpiece on your dining table to showcase your handcrafted fall decor.
- Cinnamon: Use cinnamon sticks for your stem to add a subtle seasonal scent.

Creating these DIY velvet pumpkins is one of the most rewarding thrift-store-style fall projects you can do. They look expensive, cost almost nothing, and take almost no time. Make a few this weekend and watch how many compliments you get.
Ready to try more budget fall decor? Check out my other thrift store and Dollar Tree makeovers for even more inspiration that won’t break the bank.
October Thrift Store Team Makeovers

Painting A Thrift Store Lamp My Repurposed Life
Thrift Store DIY Upcycle Petticoat Junktion
Minnow Bucket Pumpkin With Dollar Tree Stencil Organized Clutter
Updating a Rolling Cooler With Spray Paint My Uncommon Slice of Suburbia
Updating Fall Thrift Store Art Shop At Blu
Boho Pumpkin with All-Natural Craft Supplies Sadie Seasongoods
DIY Velvet Pumpkins Domestically Speaking
Vintage Wooden Bucket Makeover House of Hawthornes


can you make a couple of cowhide pumpkins let me know donna [email protected]
Great idea, Maryann. I have coveted velvet pumpkins for several years but found them always too pricey. Now, I can have some at a reasonable cost! Thanks for sharing your project. I am subscribing to your blog so I can see more of your ideas.
They are super pretty Maryann and look high-end! Thanks for the great tutorial!
Such a pretty pumpkin idea! Love it!
Your pumpkins are super cute! Love how you used the driftwood for stems. Pinning!