
Corn Husk and Chalkboard Placecard

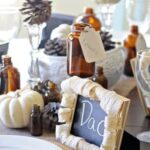
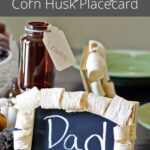
Fall is one of my favorite times to get creative with seasonal decor, and these DIY corn husk and chalkboard place cards are such a fun way to dress up your Thanksgiving table!
I love how a few simple supplies can turn into something special. For this project, I used inexpensive picture frames, natural corn husks, and chalkboard laminate to create unique little place card holders for our holiday table.
They’re perfect for writing each guest’s name and adding a personal touch to your Thanksgiving tablescape. You could even use them to label dishes on a buffet!
The natural texture of the corn husks adds a pretty harvest-inspired detail, while the chalkboard center makes it easy to personalize each frame. And since you can write on the chalkboard surface, you can change the names whenever you need to.
Let’s get started!
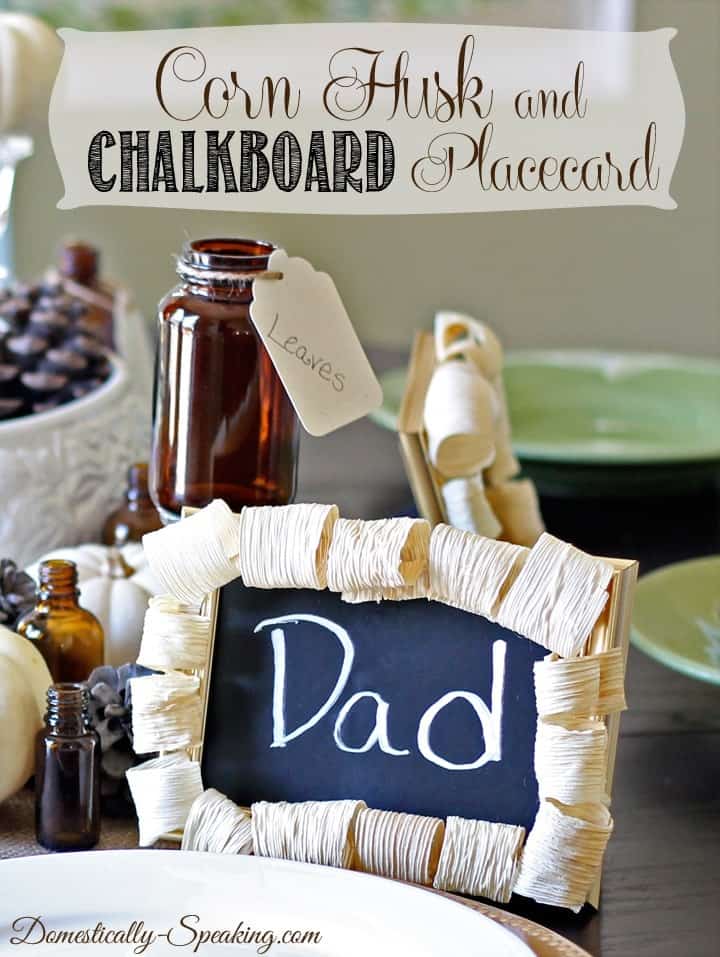
These are the perfect way to personalize your Thanksgiving tablescape, by writing the names of your guests on these cute chalkboard place card holders. These would also be great for a buffet spread to label all the dishes you were serving.
Supplies for DIY Corn Husk and Chalkboard Place Cards
Affiliate links are provided for your convenience.
I found my corn husks at the grocery store. You can often find dried corn husks in the section with Mexican food ingredients, where they’re sold for making tamales.
I love using inexpensive materials for seasonal crafts, and these simple supplies come together to create a place card that looks lovely on a fall or Thanksgiving table.
How to Make Corn Husk and Chalkboard Place Cards
Step 1: Soak the Corn Husks
Start by soaking the corn husks in cold water for about 10 minutes. This softens them and makes them easier to bend without breaking.
Remove the husks from the water and lay them on a towel to dry for about 10 minutes.
You want them to be flexible enough to shape into loops, but not dripping wet when you begin working with them.

Step 2: Cut the Corn Husks Into Strips
Using scissors, cut the corn husks into strips approximately 1 to 2 inches wide.
The strips will become the decorative loops around the outside of your picture frame.
I recommend choosing the thicker corn husks when possible. They’re easier to work with when using hot glue and can help reduce the chance of accidentally burning your fingers.
Step 3: Make the Corn Husk Loops
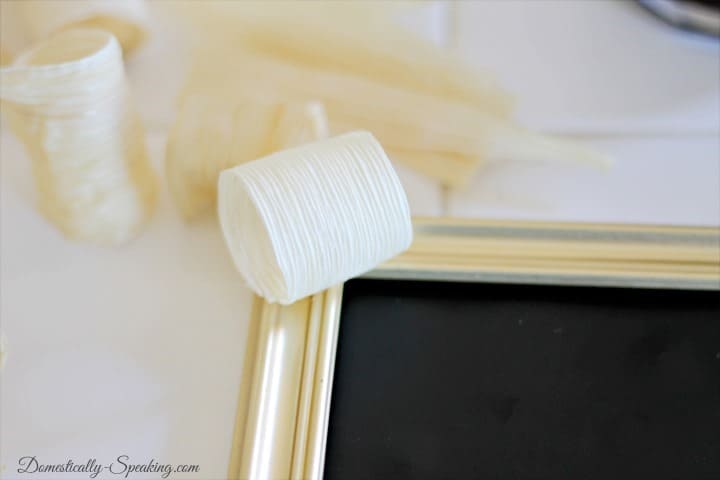
Take one strip of corn husk and bend it into a loop, bringing the ends together. Secure the ends with a small amount of hot glue.
Continue making loops until you have enough to cover the outside edge of your picture frame.
If you prefer not to use hot glue, you can use a craft adhesive instead. Just keep in mind that you’ll need to hold each loop together until the glue dries.
A little tip: Be careful when working with hot glue, especially when handling the corn husks. The glue can squeeze through the material, so keep your fingers clear of the hot adhesive.
Step 4: Attach the Corn Husk Loops to the Frame
Starting at one corner of the picture frame, use your hot glue gun to attach a corn husk loop to the outer edge.
Continue adding loops around the frame until the entire outside edge is covered.
Work your way around the frame, positioning the loops close together to create a full, textured border.
I love how the natural corn husks give these place cards a rustic harvest look. The texture makes them feel special without requiring expensive craft supplies.

Step 5: Add the Chalkboard Center
For the chalkboard surface, I used peel-and-stick chalkboard laminate.
I simply covered the backing of the picture frame with the chalkboard laminate, creating a dark surface in the center of the frame.
This is such an easy way to turn an ordinary picture frame into a reusable chalkboard place card holder!
Make sure the laminate is cut to fit the frame backing before putting everything back together.

Step 6: Write Your Guests’ Names
Once the frame is assembled, use a white chalk marker to write each guest’s name on the chalkboard surface.
The white lettering stands out beautifully against the dark background and complements the natural corn husk border.
You can personalize each place card before your guests arrive and place one at every seat around your Thanksgiving table.
These would also be a fun way to label dishes on a buffet. Simply write the name of each dish on the chalkboard center instead of a guest’s name.
Decorating Your Thanksgiving Table With Corn Husk Place Cards
Now that your place cards are finished, it’s time to set the table!
I love how these little frames add a handmade touch to a Thanksgiving tablescape. They work beautifully with natural fall elements such as mini pumpkins, pinecones, autumn leaves, and other seasonal decorations.
Try placing one at each dinner setting, then add a few small pumpkins or natural accents down the center of the table.
You could also coordinate the place cards with your existing fall decor. The gold frames and natural corn husks work especially well with warm autumn colors, rustic wood, and neutral linens.
The result is a welcoming table that feels thoughtful and personal without requiring a lot of extra expense.
More DIY Corn Husk Crafts
If you enjoy decorating with natural materials, I have a few more corn husk projects you might like!
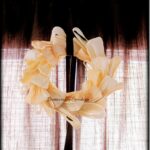
- Another Corn Husk Wreath — a rustic wreath made with corn husks and natural accents.
- DIY Corn Husk Garland — a lovely way to add natural texture to your fall mantel.
- How to Make Corn Husk Pumpkins — a creative pumpkin craft for autumn decorating.
Corn husks are such a fun material to experiment with, and I love finding different ways to use them in seasonal projects.
A Simple DIY for Your Thanksgiving Table
These DIY corn husk and chalkboard place cards are an easy way to add a personal touch to your Thanksgiving celebration.
With inexpensive picture frames, a few corn husks, and chalkboard laminate, you can create reusable place card holders that look charming on your holiday table.
Use them to welcome your dinner guests, label dishes on a buffet, or add a little rustic detail to your fall decorating.
I hope this project inspires you to make something special for your own Thanksgiving table!
Happy crafting!

This is brilliant!! I love it.
These are so charming. Maryann! Pinning! xo
These are so cute Maryann! I love working w/ corn husks. Now I have another idea for next year 🙂
I love these, so creative and perfect for thanksgiving!
They look lovely Maryann and perfect on your gorgeous table!
Hi Maryann! These look adorable and what a perfect Thanksgiving place card! Thanks s much for sharing and pinning! Hope you have a happy Sunday and a wonderful week!
These are adorable!
You place cards are so cute…. I just want to thank you for letting me tag a long at the So Cal Social it was really nice meeting you!