
Turn Dollar Store Bins into Stylish Storage



Do you ever find the perfect storage bin in the right size, only to discover that the color doesn’t match your home? I love finding inexpensive organizing solutions, but brightly colored plastic bins aren’t always what I want on an open shelf or bookcase.
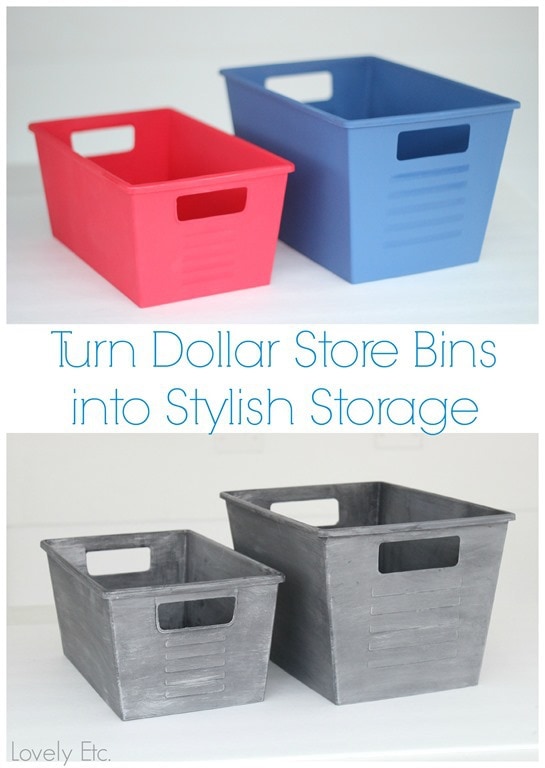
This Dollar Store storage bin makeover is an easy way to give basic plastic containers a vintage, aged-metal look. With gray automotive primer, chalkboard paint, and a little silver craft paint, you can transform inexpensive bins and buckets into stylish storage that looks much more like vintage metal containers.
The best part? You can use this technique on different shapes and sizes of plastic containers to create a coordinated look throughout your home.
Supplies for This Dollar Store Storage Bin Makeover
Affiliate links are provided for your convenience.
Before you begin: Check the paint and primer labels to confirm that they’re suitable for your particular plastic containers. Work in a well-ventilated area and follow the manufacturer’s safety and drying instructions.
How to Make Cheap Storage Containers Vintage:
Step 1: Choose Your Plastic Storage Bins
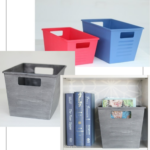
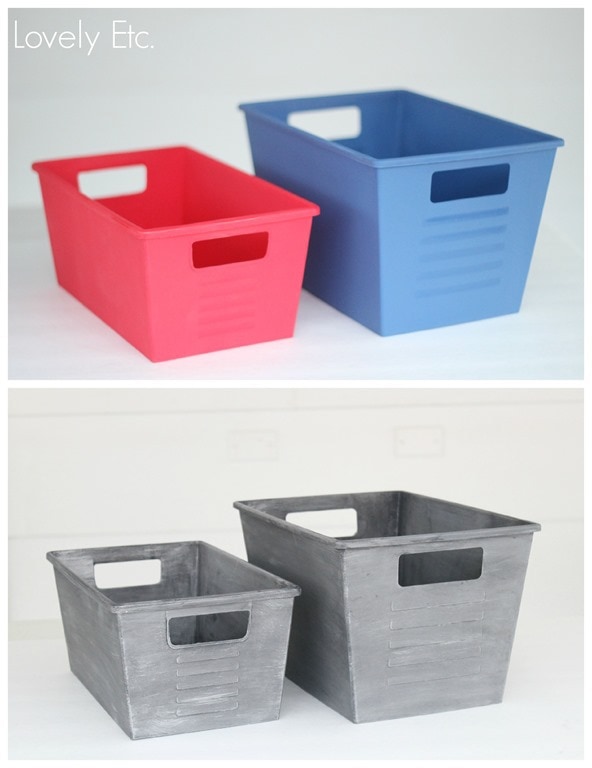
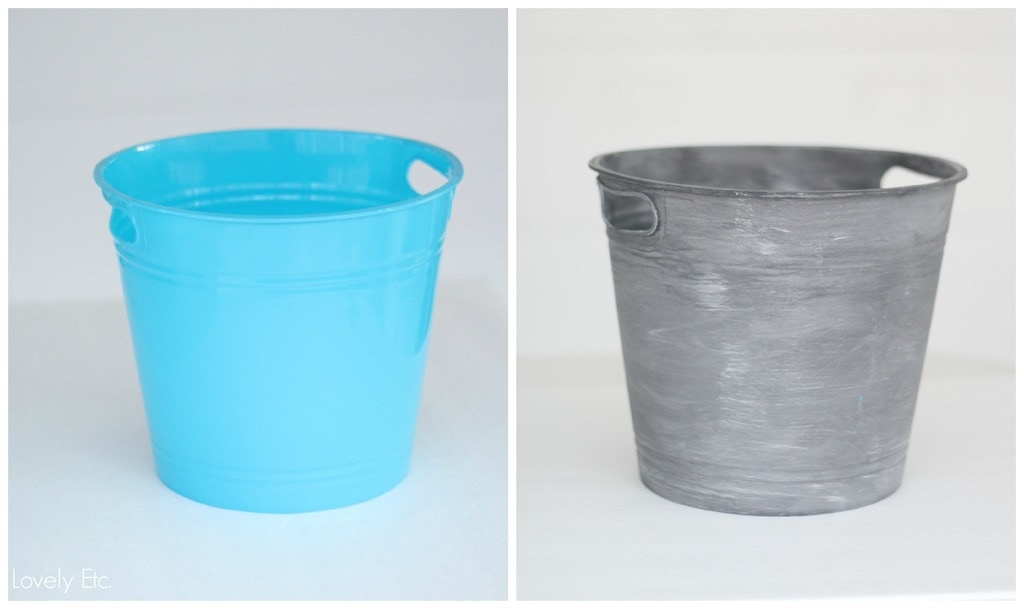
I started with two plastic Dollar Tree storage bins that look like plastic locker bins and a plastic bucket. All in very bright, happy shades that are perfectly tucked away in a closet…but not exactly what I would want to use to decorate my house. Dollar store containers come in all sorts of various sizes and shapes, so just find one you like at your local dollar store.
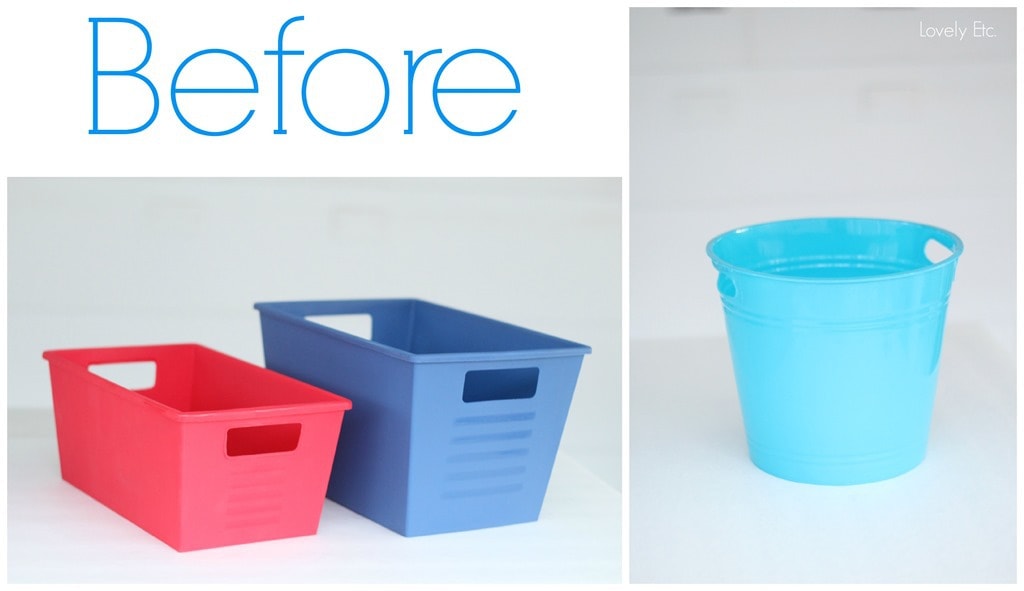
I really wanted to give them the look of aged metal and I was able to do that pretty simply using only three steps. To get a really authentic aged metal look, you need gray automobile primer, chalkboard paint, and silver craft paint.
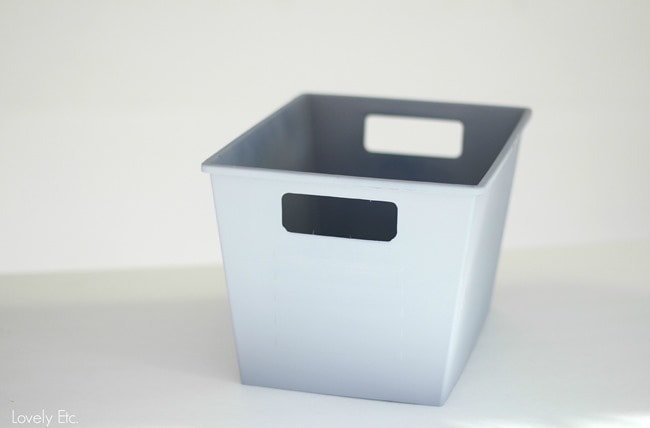
Step 2: Apply Gray Automotive Primer
I started with primer. I chose to use a because it sticks really well to plastic and gives a great matte gray finish with a bit of texture, perfect for a dollar store hack.
Step 3: Add a Layer of Chalkboard Paint
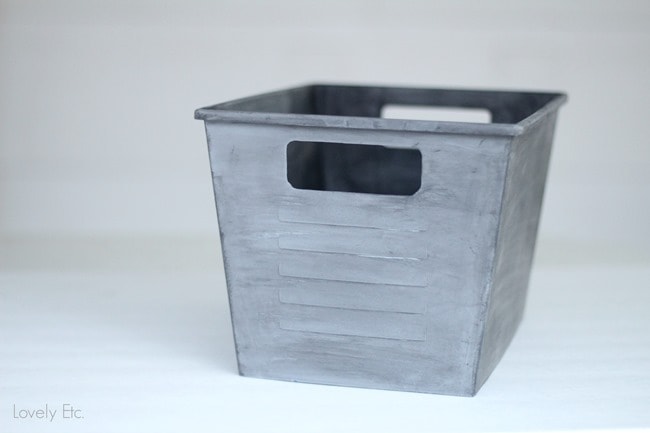
Once the primer was dry, I pulled out the chalkboard paint. Chalkboard paint also has a nice matte finish with some texture. I used a foam brush to rub a thin coat of chalkboard paint on and then immediately wiped the excess off with an old rag.


Step 4: Dry-Brush with Silver Craft Paint
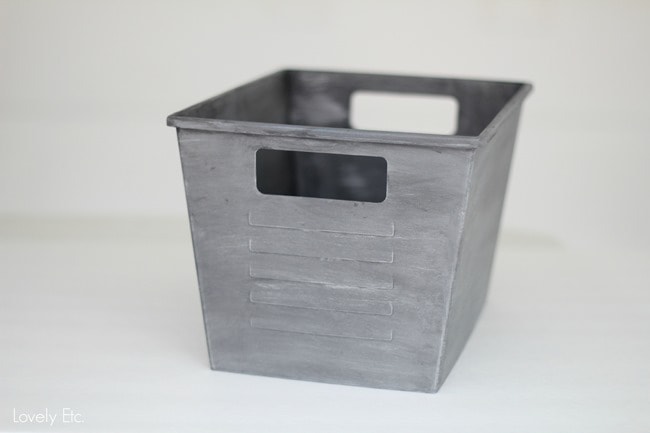
The final step was to add a hint of shine. I used some silver craft paint and a chip brush. I just barely loaded a small amount of silver paint onto the ends of the brush and then wiped the excess off onto a paper towel before lightly dry brushing it onto the bins.
The Finished Faux-Metal Storage Bins
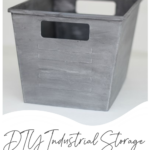
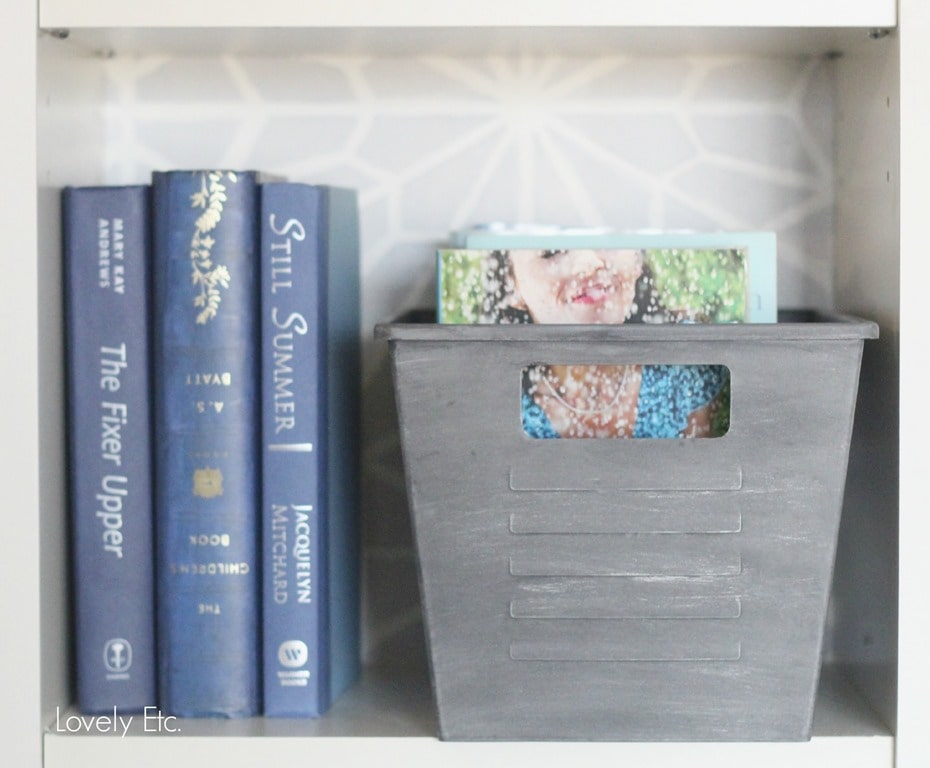
I love how these ordinary plastic containers take on the appearance of vintage metal after just a few simple steps. The combination of gray, matte black, and silver creates a finish that looks right at home with rustic, industrial, and farmhouse-style decor.
And because the containers started as inexpensive dollar-store finds, you can create a coordinated set without spending a lot on decorative storage.
How to Use Your DIY Storage Containers
Once your bins are dry, there are so many ways to put them to work around the house.
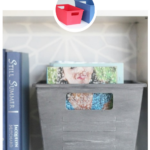
- Bookcase storage: Use a locker-style bin to corral books, notebooks, or small accessories.
- Entryway organization: Keep winter hats, mittens, scarves, and other seasonal accessories together in a bucket.
- Bathroom storage: Organize toiletries, hair accessories, or other small items under the sink.
- Pantry organization: Group packaged items and other pantry essentials in appropriately sized bins.
- Closet storage: Keep socks, accessories, or small items from getting scattered across shelves.
- Craft room organization: Store paintbrushes, craft supplies, and other small tools in easy-to-reach containers.
Choose the container size to suit what you’re storing, and avoid using painted containers for food or anything that requires a food-safe surface.
Tips for a Successful Plastic Bin Makeover
Start with clean containers. Remove dust, dirt, and residue, and let the plastic dry thoroughly before painting.
Use compatible products. Not every primer or paint adheres well to every type of plastic. Check product labels before applying the finish.
Build the finish in thin layers. Thin coats give you more control over the final look and help avoid heavy, uneven paint.
Don’t skip the dry-brushing technique. Wiping most of the silver paint off the brush before applying it is the key to creating subtle metallic highlights.
Allow enough drying time. Follow the recommended drying and curing times before putting the containers into everyday use.
Test durability first. Painted plastic can show wear with frequent handling. Test your paint system on a small, inconspicuous area and touch up the finish as needed.
The next time I am at the dollar store, I am definitely going to be looking around with a more open mind, looking at all the possibilities! These storage containers would be great under a bathroom sink to store toiletries, you could use them for pantry organization, in a closet to hold your socks, any small items that you want stored together, or anywhere you want to use these dollar tree organization hacks.
More DIY Home Decor and Organization Ideas
If you enjoy inexpensive makeovers and creative ways to decorate your home, check out more projects from Domestically Designed:
Best Thrift Store Makeovers — explore the site’s thrifted makeover ideas.
DIY Industrial Metal Pumpkins — another project with an industrial-inspired look.
DIY Bathroom Storage Bench — add practical storage to your bathroom.
Easy Modern Mirror Edge — give a simple home decor piece a fresh look.
This Dollar Store storage bin makeover is a reminder that practical storage doesn’t have to be boring. With a few layers of paint and a little dry brushing, ordinary plastic containers can become decorative pieces that help keep your home organized.
This DIY project is brought to you by Carrie from Lovely Etc. Follow along with her on Facebook, Instagram, and Pinterest.



Love the look !!
It’s truly a great and helpful piece of info. I’m satisfied that you shared this useful information with us.
Please keep us informed like this. Thanks for sharing.
What is a chip brush?
Hi Denise! You can see an example here: https://amzn.to/1PmZFAU
Great transformation! They look really beautiful and stylish when added to the interior! There is always need of extra storage bins and I love the idea of buying simple dollar store bins and turn them into these lovely storage containers! Thanks for the idea! 🙂
Great idea! When I first saw the picture I thought, “what cute metal buckets!” I LOVE baskets, buckets and bins and would like my closets to be more “matching” organized, but like you say, the cute ones get so expensive. This is a great idea. Thanks!
this is great! it looks like metal
How well does the paint hold up on plastic with everyday use. How frequently do you need to touch up or reapply?
Often I’ve seen bins I’d like (size) but not color – love this idea!
Hello Maryann! This is my first time here. Thanks for sharing your idea!
Great idea and I love the auto primer!
Wow! so cool! They look like galvanized metal! Going to use this idea! THANKS!!
They look very nice ! I love this scratch effect! Thanks for sharing! The ideas is great!
Hello Maryann:) This is my first time visiting your blog! Very nice:) I’ll definitely be coming back! I love this budget idea….genius:) Thanks for sharing!
Wow! I’m SO impressed! I have many a folger’s coffee plastic containers that I’m going to paint them like this. Thanks for the inspirations!! -Bev 🙂