Budget-Friendly Board and Batten Bedroom Feature Wall: Easy DIY with MDF Bender Board


Are you dreaming of transforming your bedroom into a cozy, stylish retreat without breaking the bank? A board and batten feature wall is a timeless design element that adds texture, depth, and character to any space. But what if I told you that you could achieve this look for under $100 using affordable MDF bender board? This budget-friendly DIY project is perfect for beginners, requiring minimal tools and no advanced woodworking skills. In this guide, we’ll walk you through how to create a stunning board and batten wainscotting bedroom wall that’s not only cost-effective but also incredibly easy to install.

Why Choose MDF Bender Board for Your Board and Batten Wall?
MDF bender board is a game-changer for DIY enthusiasts. Unlike traditional lumber, which can be pricey and rigid, MDF (medium-density fiberboard) bender board is lightweight, flexible, and inexpensive—often costing just a few dollars per strip. It’s designed to bend around curves, but for a straight board and batten design, it cuts easily and adheres smoothly to walls. This makes it ideal for creating clean, vertical lines without the hassle of warping or splitting. Plus, it’s readily available at home improvement stores like Home Depot or Lowe’s, keeping your project budget-friendly.

Key benefits include:
- Cost Savings: Traditional board and batten can run $200+, but with MDF bender board, you’ll spend a fraction. I spent under $40 for my bender boards.
- Ease of Use: No need for power saws; a utility knife or hand saw works fine.
- Customization: Paint it any color to match your bedroom decor—think soft neutrals for a serene vibe or bold accents for drama.

Materials You’ll Need for This Budget DIY Project
Affiliate links are provided for your convenience.
- MDF Bender Boards
- miter saw, hand saw, or utility blade
- nailer (if you don’t have a nail gun, you can use a hammer and nail, it just takes longer)
- level
- tape measure
- stud finder
- wood filler
- sandpaper
- caulk
- primer (if you are wanting to go white and your existing wall color is dark)
- paint & primer in one
- paint brush
- roller
Tip: Shop sales or use scraps from previous projects to slash costs even further.
Step-by-Step Guide: How to Install a Board and Batten Wall with MDF Bender Board
Follow these easy steps to create your budget-friendly board and batten bedroom feature wall. The entire project can be completed in a weekend!
Step 1: Plan and Measure Your Wall
Start by sketching your design. Decide on batten spacing—typically 12-18 inches apart for a modern look. Measure your wall height and width, marking where each vertical batten will go with a pencil and level. This ensures straight lines and a professional finish. The website below is GREAT at helping you get a visual on the spacing, plus giving you the measurements between your boards.
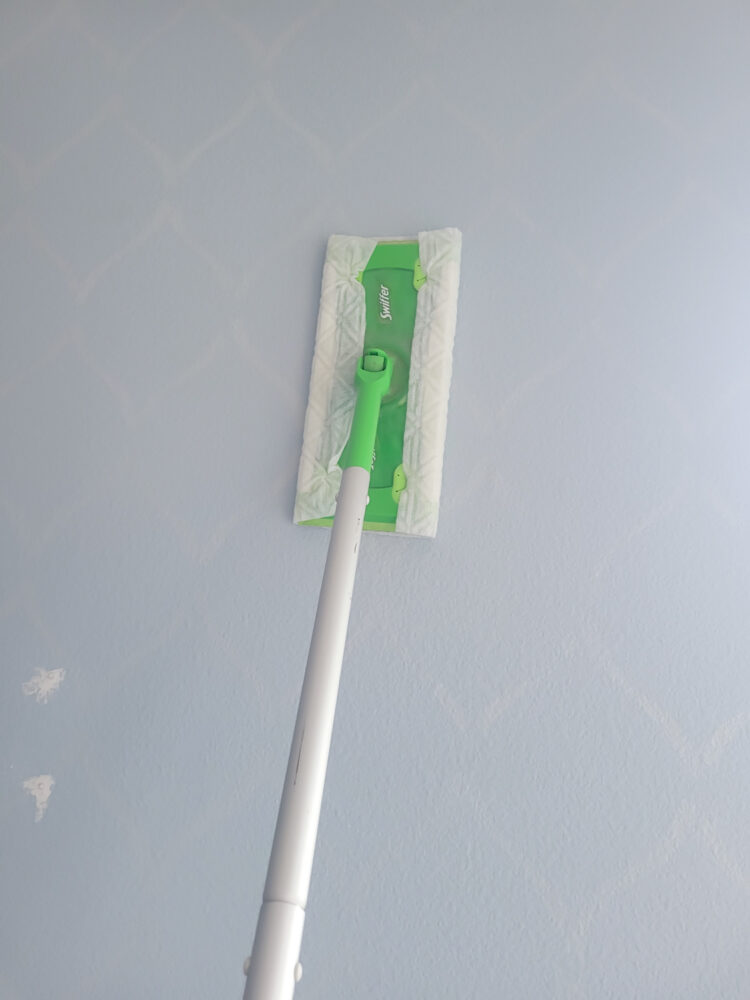
Step 2: Prep Wall
If you wall has any nail holes that need patching do that first. After that dries, give the wall a good wipe down to make sure you are starting with a clean surface.
Step 3: Paint the Wall
Now this is just my personal preference. I like to paint the wall before I attach the board and batten to it. You can wait and do it all at the end if you prefer though.
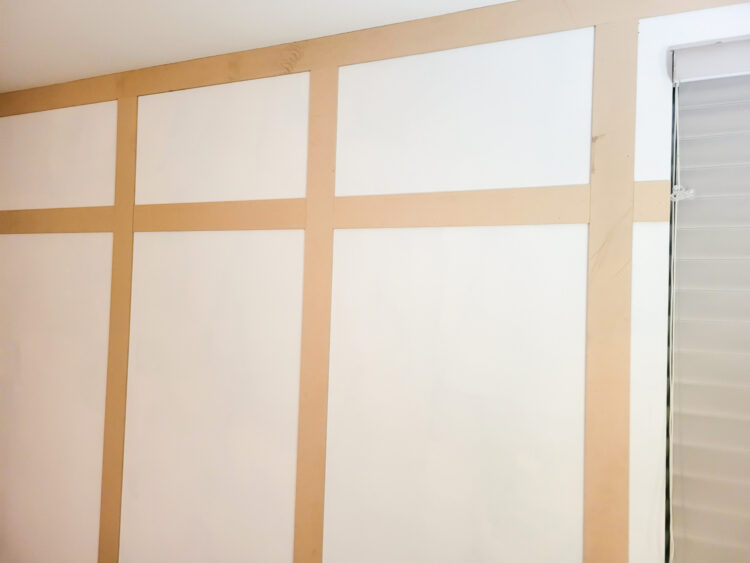
Step 4: Cut the MDF Bender Board
The first board I placed directly on top of my baseboard. I nailed one full length 8 foot board down. Then using my miter saw, cut the MDF bender board to fit the remaining length. I took this approach on the whole project. I’d place a full length board where I could, then measure the remaining size I needed, cut that piece then attach.

After I put the pieces on top of my baseboard, I put up the pieces along the ceiling. Then I started putting up the vertical battens (up and down) top rail boards. I started on the right side and started working my way across. I used a level for that first piece and I also used some scrap wood to cut a piece to use as a spacer. This makes it really easy to keep your spacing even as you put the boards up.
Step 5: Attach the Battens
I just used my nail gun to attach the battens. I marked where the studs were and placed nails there, but the areas that don’t have wall studs, I shot the nail in at a slight angle. This helps to keep the board more secure. If you prefer you could use adhesive on the back of the bender board before placing on the wall and nailing. The bender board are so light weight that I didn’t think it was necessary.
Step 6: Add Horizontal Trim
When it came to adding the horizonal pieces I would measure the space between the vertical pieces just to double-check and then cut the piece. I used a level to make sure I was keeping in a straight line.
Step : Wood Filler and Caulk
Once you have all your board up you want to use wood filler on the seams between the boards. Using your putty knife apply a little wood filler to the seam, pressing it into the seam, then scrap away the excess. Let it dry as your can recommends, then sand lightly until smooth.
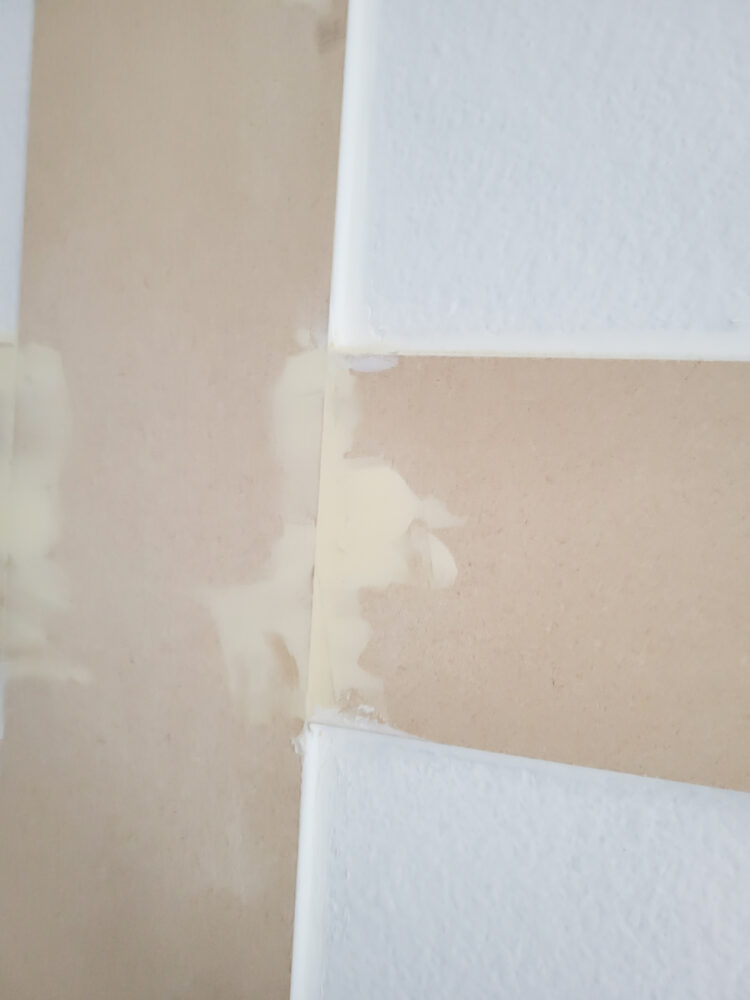
The area where the wall and the board meets you want to use caulk. Make a small, angled cut on the end of your caulking tube. I worked in one open section at a time. Apply a thin line in the area where the board and wall meets. Then I use a damp paper towel or wet wipes to go over the area and smooth it into a nice seam line. Let it dry as directed on your caulk before moving on to paint.
Step 5: Prime, Paint, and Enjoy
My walls were previously a light blue, so I just used a combined primer and paint. If you have darker walls and are wanting to go very light with your board and batten wall, then I would recommend you use a primer first before paint. I’ve linked some of my favorites above. I used 2 coats of white paint with primer in it.

Once your first coat has dried you can check and see if you want a second coat of paint. Let it dry thoroughly before adding decor, etc to the wall. You can learn how to updated my headboard to this Cane Headboard in this post.
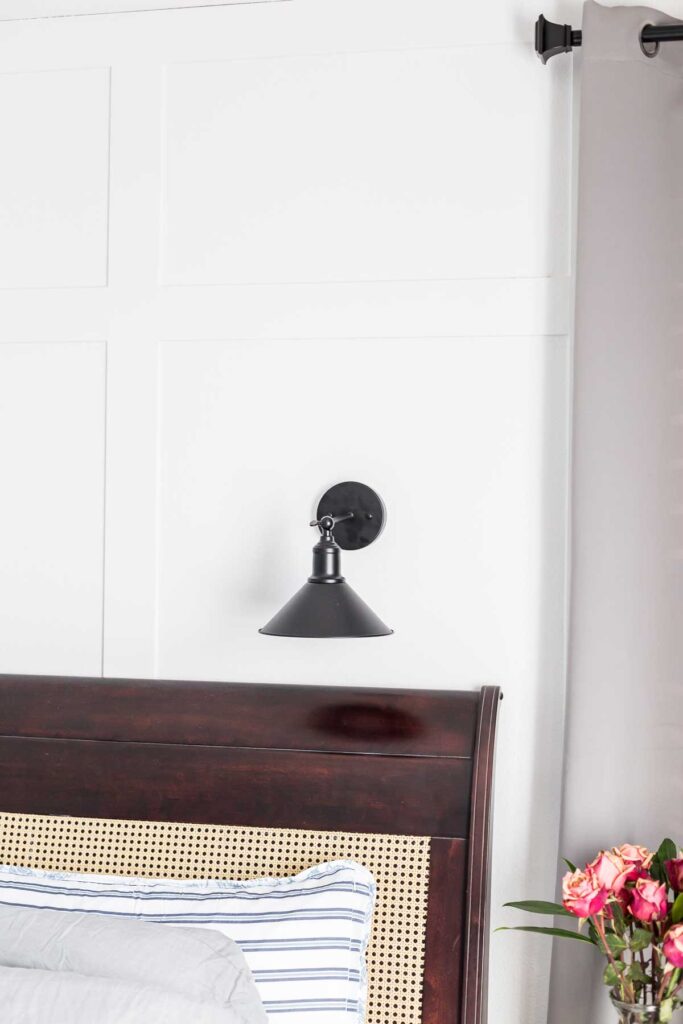
Creating a budget friendly board and batten accent wall with MDF bender board is an accessible way to add elegance without the expense. It’s beginner-friendly, customizable, and transforms bland walls into focal points. Ready to tackle your own? This batten look is great in bathrooms, entryways, or anywhere you want to have a focus point.