DIY Faux Birch Candles


Transform your home with these simple DIY faux birch candles! Perfect for fall decor, this budget-friendly craft uses affordable supplies to create flameless pillar candles that mimic real birch bark. Ideal for beginners, these rustic candles add a cozy, woodland vibe to any space without the fire risk.

Why Make DIY Faux Birch Candles?
Faux birch candles are a trending fall craft that combines rustic charm with modern safety. Unlike traditional candles, these LED versions eliminate fire hazards, making them perfect for homes with kids or pets. Plus, they’re an inexpensive way to elevate your seasonal decor. Whether you’re crafting for yourself or as DIY gifts, this project is quick, easy, and customizable.
In this guide, we’ll cover everything you need to know about creating your own birch bark-inspired candles using Dollar Tree finds and scrapbook paper. Let’s dive into the supplies and step-by-step instructions!
Supplies Faux Birch Candles
Affiliate links are provided for your convenience.
- realistic led candles (I found mine at a dollar store)
- or original candle holders (glass) and flameless tea light candles
- birch scrapbook paper that resembles real birch bark
- x-acto knife
- hot glue gun or glue dots
- or mod podge
- foam paint brush

Step-by-Step: How to Make Faux Birch Candles
To make my candles with a chic faux birch design I went with simple items I was able to find. I start with these flameless led candles that I found at my Dollar Tree.

Prepare the Scrapbook Paper:
Then I found some scrapbook paper that looks just like birch trees at my local Hobby Lobby.
The height of my faux candles is 4 inches, so with a 12″x12″ piece of scrapbook paper, you can make 3 candles.

I started by trimming down my scrapbook paper. I used a paper cutter to trim my paper down.
Once my paper was 4 inches tall I wrapped it around the candle to see how much excess I needed to trim off. I didn’t want the paper to overlap. Trim off the excess paper.
Apply Adhesive:

I used Mod Podge to attach the paper to my faux candles. Paint the outside of the candle with a thin layer of Mod Podge and then carefully place the trimmed scrapbook paper on top. I start with one edge of the paper and slowly smooth and press the paper onto the Mod Podge.
Attach the Paper:

Dry and Seal:
Let it dry for at least 30 minutes. Now you can place another coat of the Mod Podge on top of the paper to protect it if you want.
If you want to use a hot glue gun or glue dots you could just use it at the seam area where the edges of the scrapbook paper come together.
Trim Edges
Once the Mod Podge and paper have dried, I used an x-acto blade to trim off the excess paper at the top, since my faux candles have a scalloped edge.

If you want to use the glass candle holders at the dollar store you can follow the same steps, just place the led tea lights inside to light them up.
I love the rustic vibe these candles give. I think they look like actual birch bark.
I’ve seen other crafters take white birch and glue it around a candle holder, to get that real look.
Tips for Customizing Your Birch Bark Candles
- Realistic Touch: For an authentic look, source paper with natural birch textures or even glue real birch bark strips.
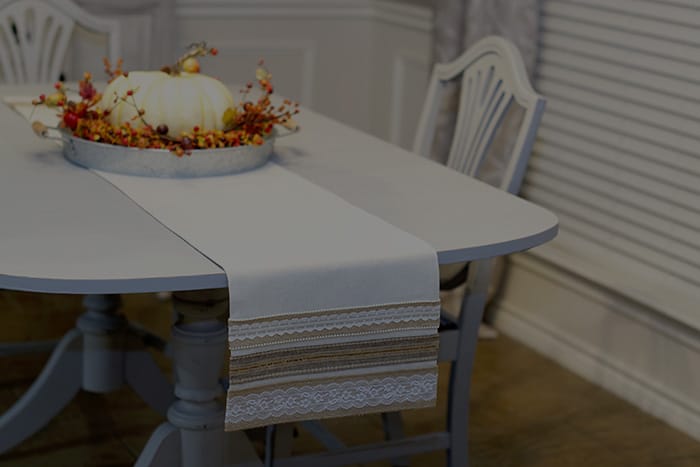
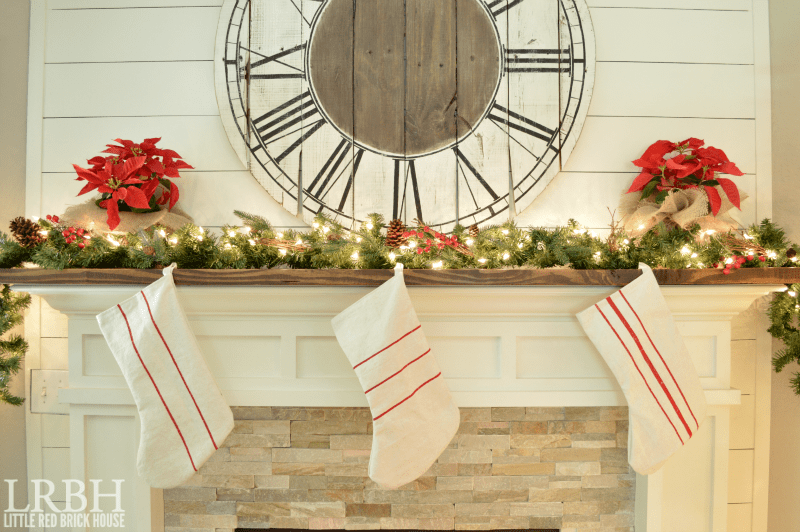
- Seasonal Twists: Pair with decorative pumpkins for fall vignettes or evergreen accents for winter.
- Gifting Ideas: Bundle these as thoughtful DIY gifts for holidays or housewarmings.
- Safety First: Always use LED lights to avoid fire risks with paper crafts.
These versatile faux birch candles blend seamlessly into rustic, farmhouse, or woodland-themed decor. Experiment with different paper patterns for unique results!
Using LED
I find they cast some a soft warm glow. It’s great that you don’t need to worry about flame or that fear of a fire, especially with paper right there.

These DIY Faux Birch Candles make great diy gifts. Put them with a decorative pumpkin and you’ll have the perfect fall space.
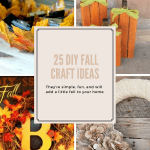
DIY faux birch candles are a fantastic way to add warmth and style to your home without breaking the bank. They’re simple enough for crafters of all levels and make excellent additions to fall tablescapes or mantels. If you try this project, share your creations in the comments below! Ready to craft more? Check out our other fall DIY ideas for endless inspiration.