
DIY Blanket Ladder


If you love cozy blankets and farmhouse-inspired home decor, this DIY blanket ladder is a fun project to add both style and storage to your home.
A blanket ladder is such a simple way to display your favorite throws while keeping them within easy reach. Instead of piling blankets on the sofa or hiding them away in a basket, you can turn them into part of your decor!
This DIY wooden blanket ladder is a relatively simple project that can be customized to fit your space. Choose your favorite stain or paint color, adjust the size if needed, and decorate it with your favorite seasonal blankets and throws.
I especially love how useful a blanket ladder can be during the cooler months. It gives you a convenient place to store extra blankets while adding a warm, cozy touch to a living room, bedroom, or other space.
And the best part? You get to make it yourself!
Let’s get started on this easy DIY blanket ladder.

Why Make Your Own DIY Ladder
This ladder actually cost less than $5 for the lumber!!! Yep… crazy cheap! Creating your very own DIY blanket ladder is fun and you can customize it with different woods, stain color, or even paint. Blanket ladders not only add a touch of rustic charm to your space but also provide a practical and stylish way to showcase your favorite throws. So, grab your tools and let’s get ready to elevate your home decor game!
Materials for a DIY Blanket Ladder
Affiliate links are provided for your convenience.
- three 1″ x 3″ x 6′ pine boards
- measuring tape
- miter saw
- nailer
- sandpaper
- weathered gray stain
How to Build a DIY Blanket Ladder
Step 1: Measure and Cut
I wanted my ladder about 5 feet tall, but you could adjust the height and width of your ladder easily. Here are the cuts I had:
- two 65″ (the sides of the ladder)
- four 17.75″ (the ladder rungs)
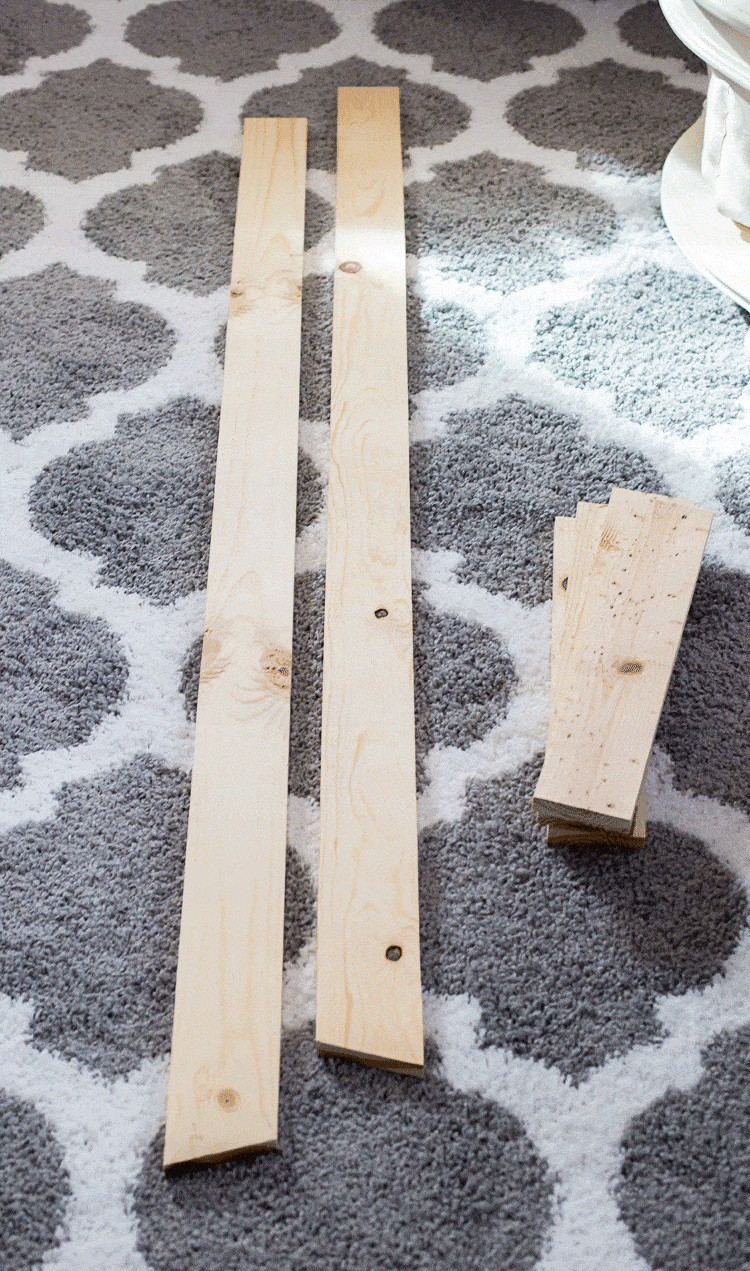
Use a tape measure (measure twice, cut once) and cut your wood pieces so they are ready. I used a miter saw, but you could use a circular saw or even a hand or jigsaw if that is all you have.
The bottom on the ladder sides I cut a slight angle so it would easily lean against the wall. (How big your angle will determine the distance from the wall, the back corner).
Step 2: Sand It Smooth
Before assembling I used a sanding block to smooth the wood. You could also use an orbital sander with some 180 grit sandpaper. Smooth out any rough edges or surfaces using sandpaper. This step ensures a polished and professional look for your blanket ladder. Plus, it reduces the risk of any unexpected splinters – we want your ladder to be as comfortable as your favorite blanket!
Step 3: Assemble the Ladder
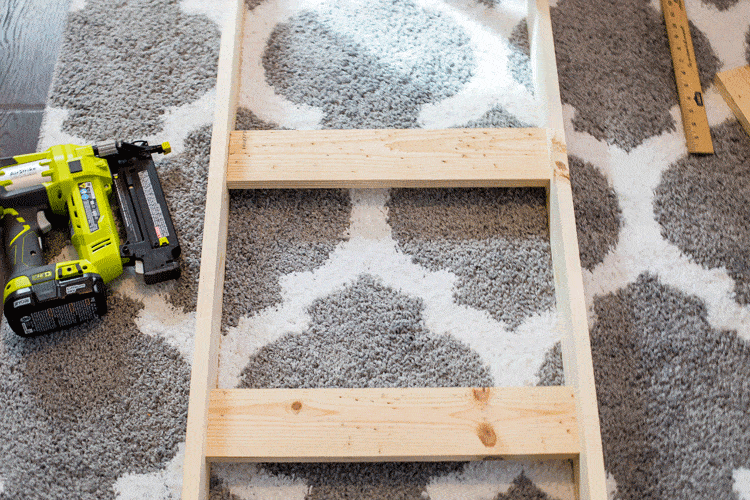
Now, let’s assemble the ladder. Lay out the cut pieces on the floor to visualize the arrangement. On the outside of the board, I drew a line in the center from top to the bottom so I knew where to put in the nails. I started the first rung 3″ from the top and then each rung was 16″ down from the one above. I put 2 nails on each board on each side. You can customize the ladder rung locations as you want.
Step 4: Add Some Character
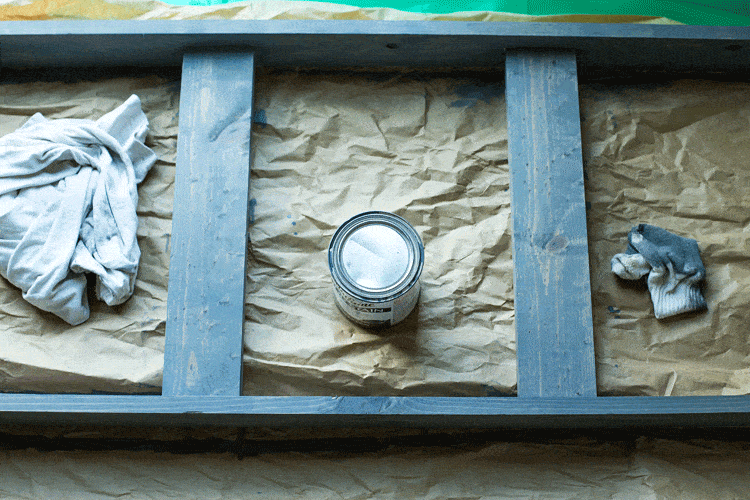
Then I stained it with a gorgeous weathered gray… I love this stain and color. It’s gorgeous and it dries in an hour! This stain gives it a worn look. I just use an old rag to apply. I’m tempted to make another and use my favorite stain, Kona. Kona is a dark walnut stain color. This is the time to let your creative juices flow! Choose a wood stain or paint that complements your home decor. Whether it’s a rustic stain, a trendy distressed look, or a pop of color, this is where you can add your personal touch to the project. You could even distress the wood using a hammer or chain to give it some texture. Apply the stain or paint evenly and allow it to dry completely.
Step 5: Showcase Your Throws
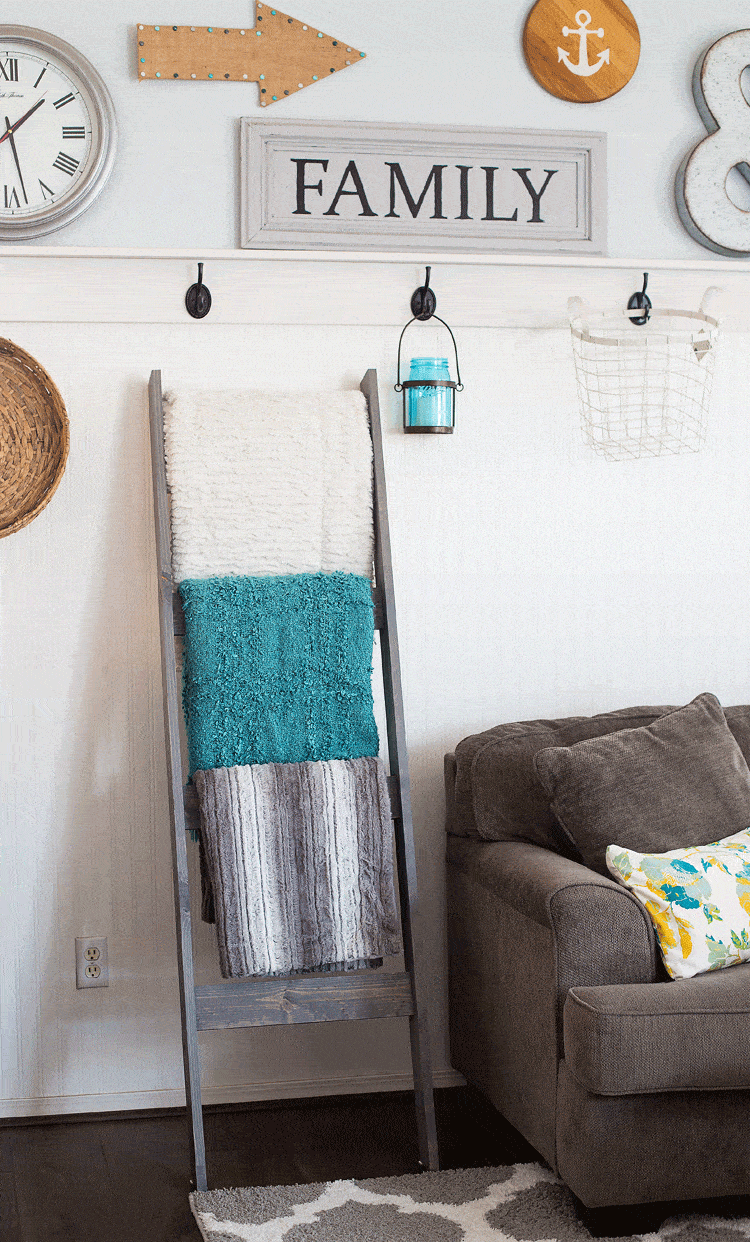
Once your DIY blanket ladder is dry and ready, it’s time to put it to good use. Lean it against a wall in your living room or bedroom, and start showcasing your favorite throws. Not only does it keep your blankets within easy reach, but it also adds a charming focal point to the room adding decorative purposes.
I’m loving the wooden blanket ladder in our family room!! Such an easy DIY project and for less than $5 it’s a bargain of a DIY! If you don’t have a nailer you could easily use wood screws too. It really is a simple tutorial. This would be a great DIY quilt ladder for someone who uses quilts. I use this rustic blanket ladder to store my cozy blankets.
How to Use a Blanket Ladder for Decor
Once your DIY blanket ladder is finished, the fun part begins—decorating it!
A blanket ladder is more than just a place to store throws. It can become a decorative accent in your home and an easy way to change your decor with the seasons.
Living Room
Lean your blanket ladder against an open wall or tuck it into an empty corner of the living room. Add a few cozy throws in different textures and patterns for an inviting look.
Bedroom
A blanket ladder is a great way to keep an extra quilt or throw close to the bed without taking up much floor space.
Seasonal Decorating
One of my favorite things about a blanket ladder is how easy it is to change the look throughout the year. Use cozy plaid blankets and chunky throws for fall and winter, then switch to lighter colors and fabrics for spring and summer.
Bathroom Towel Ladder
You don’t have to use your ladder only for blankets. Depending on the size and finish, it can also be used to display and store towels in a bathroom.
Small-Space Storage
Because a leaning ladder takes advantage of vertical space, it’s a great option when you don’t have room for a large blanket basket or cabinet.
I’ve had a LOT of interest in my area rug. I happened to find that gorgeous rug at Ross. I’ve never seen another one since though. Here are some similar rugs I’ve found though. You can click on them to learn more.

$10 And Under Power Tool Projects
Now check out these other amazing projects for less than $10 and scroll down for an awesome giveaway!

Double Pedestal Scrap Wood Table by My Repurposed Life
Hexagon and Triangle Shelves by My Love 2 Create
Window Box by Dogs Don’t Eat Pizza
Blanket Ladder by Domestically Speaking
DIY Wood Centerpiece Box by Virginia Sweet Pea
Easy DIY Shelves by Create and Babble
Vintage Peg Blanket Ladder by H2OBungalow
Computer Monitor Stand by Interior Frugalista
Wood Slice Plant Stand by Designed Decor
DIY Video Game Organization Station Holder by Kim Six Fix
Other DIY Project
If you love this blanket ladder DIY you’ll want to check out these DIY projects:









Exactly WHICH NAILER is your favorite – when I click on your link a gazillion come up?!?!?
Thanks
Thank you for the clear, simple directions! I have the same rug, but as a runner in between two rooms, covering an old furnace vent(I covered it with plywood first), but you can get the same style area rug at Wal-mart!
This is an awesome idea! I think this would be a great gift idea also! Thanks, Maryann you’re so talented!
Love it! This looks great in your room and so easy to make! Great Job!
That’s so pretty! I’d love to use that same stain for my own blanket ladder – it would match my house perfectly! Thanks for sharing!
Where did you buy that cute rug?
Hello?
Holly I happened to find that gorgeous rug at Ross! I’ve updated the post above with some very similar rugs that I’d been eyeing before I stumbled upon this one.
Beautiful and so reasonable to make..Great job!! One question what brand is this stain?? Thx
It’s a Rust-oleum brand – you can click on the name to see more.
I should build one for my wife! I love the weathered gray, thanks for sharing.
I love this! But where did you get the lumber (pine) for under $5? And the stain? We spent $9 on the stain alone.
I purchased the lumber at Home Depot for less than $5 – it’s pine. Stain I already had on hand.
This is a very wonderful creation for only $10. Glad you posted this. I was truly inspired and will surely make my very own blanket ladder. Thumbs up!
I love this and the fact that it was only $10 to make is awesome! I wish I could enter your contest, but sadly, I don’t own power tools. 🙁 Maybe next time!
Kate | TheOrganizedDream.com
Love how the ladder is so easy, yet looks fabulous! Great tutorial, pinned to share.
I’ll definitely have to add this DIY to my list. Thanks for sharing! Stopping by from Inspiration Monday.
I love your blanket ladder! Thanks for sharing it at Motivation Monday on Mom Home Guide! (By the way, it looks like you have the same sofa and area rug that I have in my family room!)
It turned out great and I think that stain is my favorite! I like the wide rungs and how they make the piece look more designer.
This looks great in your room and it’s nice to have a place to keep your blankets. We keep ours in a big basket and I’d like a ladder like yours to free up some floor space. Now that I’ve seen how you built yours, I think that I’ll make one.
Maryann
Super easy tutorial on how to make a fabulous blanket ladder. 🙂 The color is perfect and it looks so pretty holding the throws.
pinning!
gail
This is so awesome, I love everything about your room, beautiful! 🙂
I love this! But where did you get the lumber (pine) for under $5? And the stain? We spent $9 on the stain alone.
I’ve always wanted one of these! Thanks for your excellent tutorial, maybe I’ll finally get one and for a cost of $5, there is no excuse . Love the stain color too!
Love it! This is going to get a lot of use in the coming months I’m sure. I’ve been meaning to make one of these blanket ladders, too – thanks for inspiring me. Pinning!
What a great project! I love the color…and that it cost less than $5!! Awesome! Pinned!
This looks fabulous, especially against your gallery wall and wainscoting! Love a good $5 project and yours is super! Pinned 🙂