
Framed Map Art
Hello again, Domestically Speaking readers! Sarah from Little Red Brick House here. I’m so glad to be back here with you all today!
I am in the process of making over my living room and I’ve been racking my brain trying to decide what to put up on the walls. I finally decided that I wanted to frame a picture of some sorts, but not just one frame. I wanted to break up the picture into multiple frames to create a sort of gallery effect.

Then came the task of figuring out what picture to frame. I have a soft spot for old maps and and all things historical, so finally deciding to go with a map wasn’t a surprise to me. I scoured the internet for different types of maps and finally came across this one. It shows the routes that the principal explorers took when exploring the Unites States of America, between 1501 and 1844. Being a homeschooling mom, this was right up my alley. I just think it’s super cool.
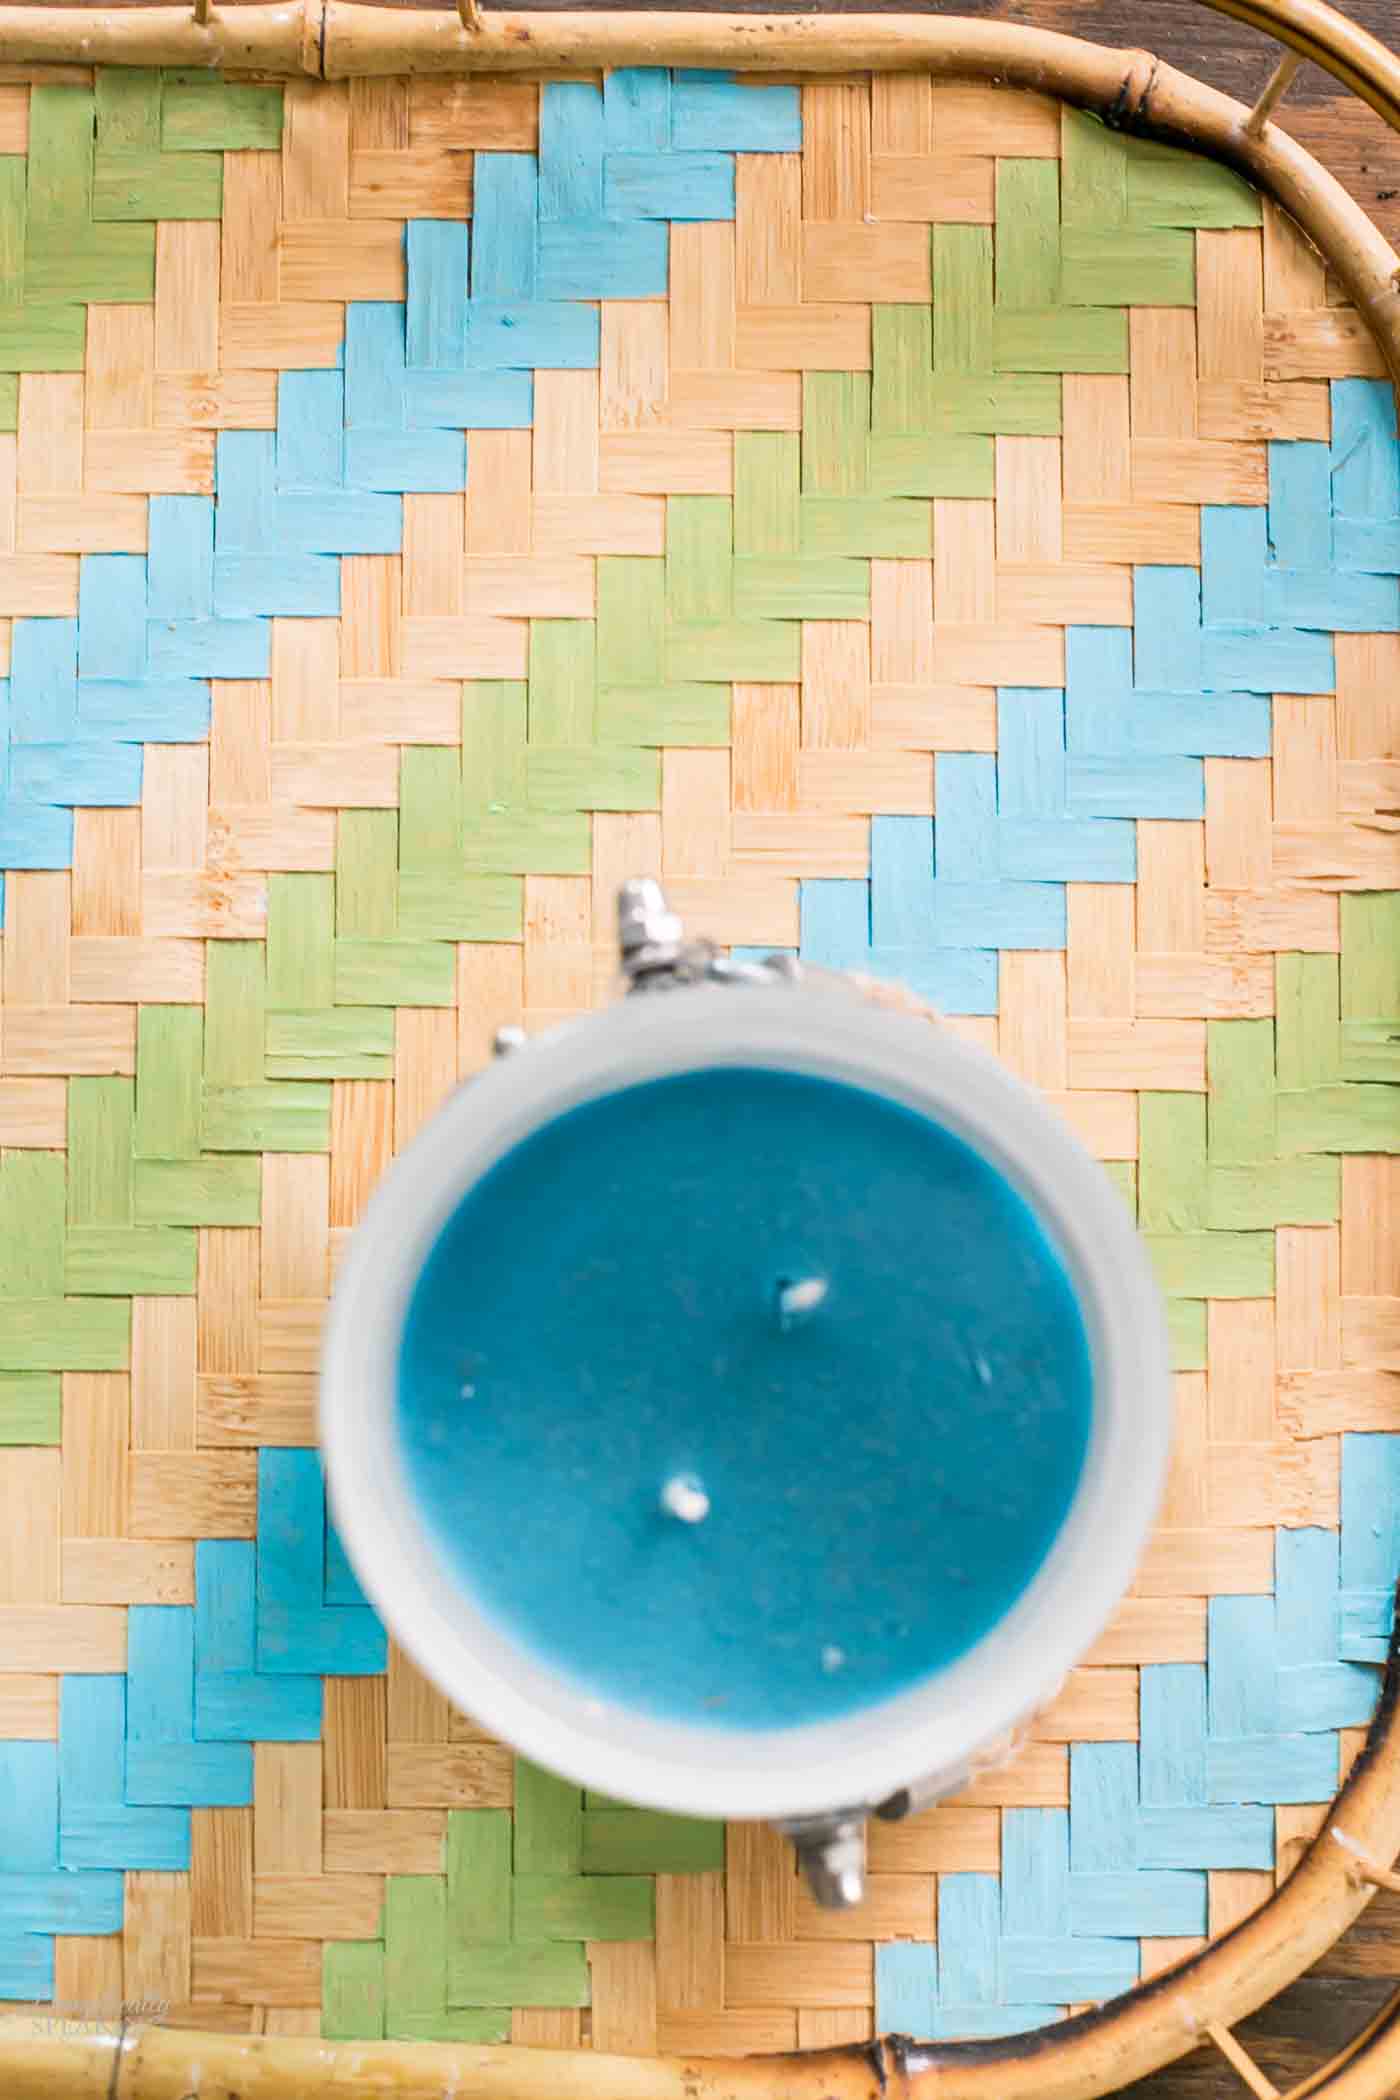
I saved the picture of the map and then took it to Kinkos to get an engineered print in the 3 x 4 foot size. I had them print the map in black and white ink. It only cost me about $7! When I brought it home I thought the bright white looked a little stark so I stained it with some strong brewed coffee. I just brewed up a cup, let it cool a little bit and then gently applied thin layers of coffee over the map, letting it dry in between each layer. I probably applied about 3 or 4 layers of stain.

Like I mentioned earlier, I wanted to break the map up to provide some interest, but didn’t want to separate it into too many pieces because with all of the lines and text, I thought it might get too busy. So I settled on just cutting it in half. I had a thin sheet of lauan plywood cut to the dimensions of my two map pieces, which were 2 ft. x 3 ft. each. After those were cut, I lined them up on my map and traced a line down the center, then cut the map in half with scissors.

I used spray adhesive to apply the map to the plywood.

Next, it was time to frame out my map pieces. I used 2″ x 1/2″ poplar pine boards for the frames. I cut them to the size of the map pieces and then nailed and glued them together. I didn’t bother mitering the joints. I stained them with Rustoleum Weathered Gray first, quickly wiping the stain off after applying it. Then I went over that stain with Minwax Provincial, letting that stain sit for 5 minutes. I applied 2 coats of Provincial.
To attach the map to the frames, I nailed in some small cleats to the sides of the frames and then glued the plywood map part onto the cleats.

To hang the maps, I carefully nailed in some of these sawtooth picture hangers on the back part of the frames.

All finished!

I opted to keep the stamps from the Library of Congress because I thought it makes it more interesting and helps to tell the story.


Now I just need to bring in some color with a few fun throw pillows and maybe even a new wall color!

To catch up and follow along with more DIY and home decor ideas, you can follow me on my blog or any of my social media outlets below!
Facebook // Twitter // Pinterest // Google+ // Instagram


I love your map artwork. I think this is a DIY project my husband would love too. Thanks for sharing this with our Tips & Tricks Link Party. Pinned!
Thank you so much, Brenna! 🙂
These look stunning! I like that you split it in two, makes a great statement.
Thanks, Gilly! I’m really happy with how it turned out!
Hello Sarah! This was a brilliant idea. It came out beautiful. I liked that you divided the map in half it looks more interesting. Great job! 😀
Thank you, Vashti! You are always so kind! 🙂
This is so cool, Sarah. I love how you aged the paper with coffee. This would look so cool in my son’s bedroom, I’m going to make one!
Thanks, Amy! I can’t believe the coffee trick worked. I was scared it would make the ink bleed but it worked out perfectly. Can’t wait to see yours!
I love it and I didn’t know you could download the maps from the Library of Congress. Awesome
Thanks, Vanessa!